If you’ve read my previous post, Confessions of a novice beekeeper – Part 4, you’ll know we’ve procured our NUC of bees. So, after allowing them to orientate for a couple of days, it was relocation day, where we move our bees into our hive.
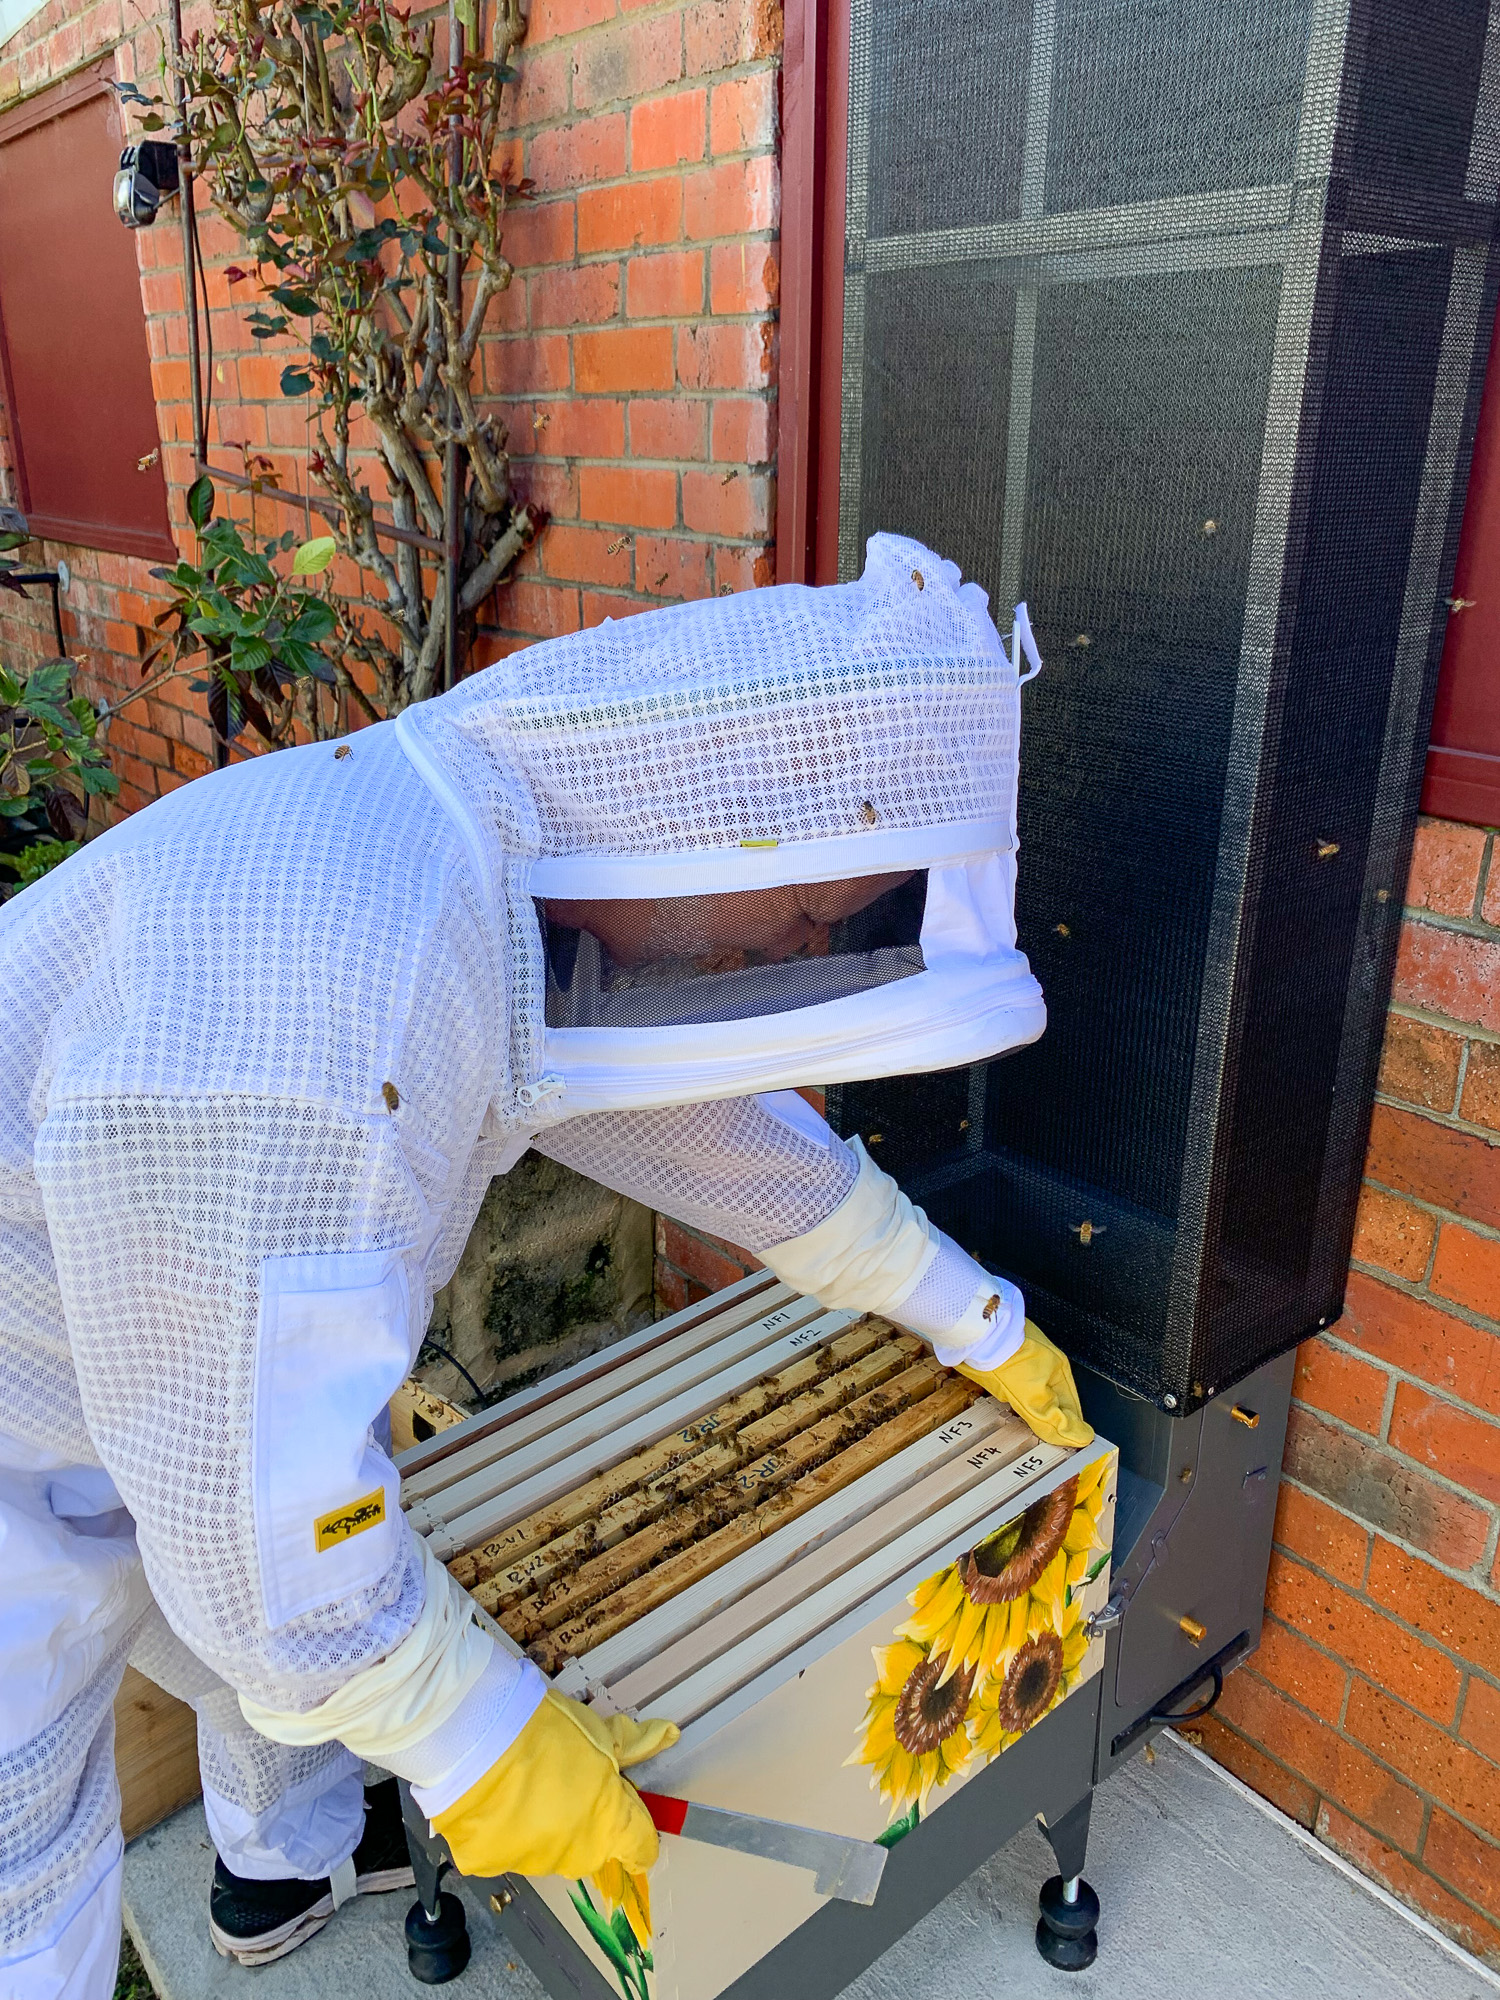
Jules, Mads, and I all donned our beekeeper’s suits and got our tools and the smoker things prepared. Moving the NUC aside, we made the final preparations to the brood box and got underway.
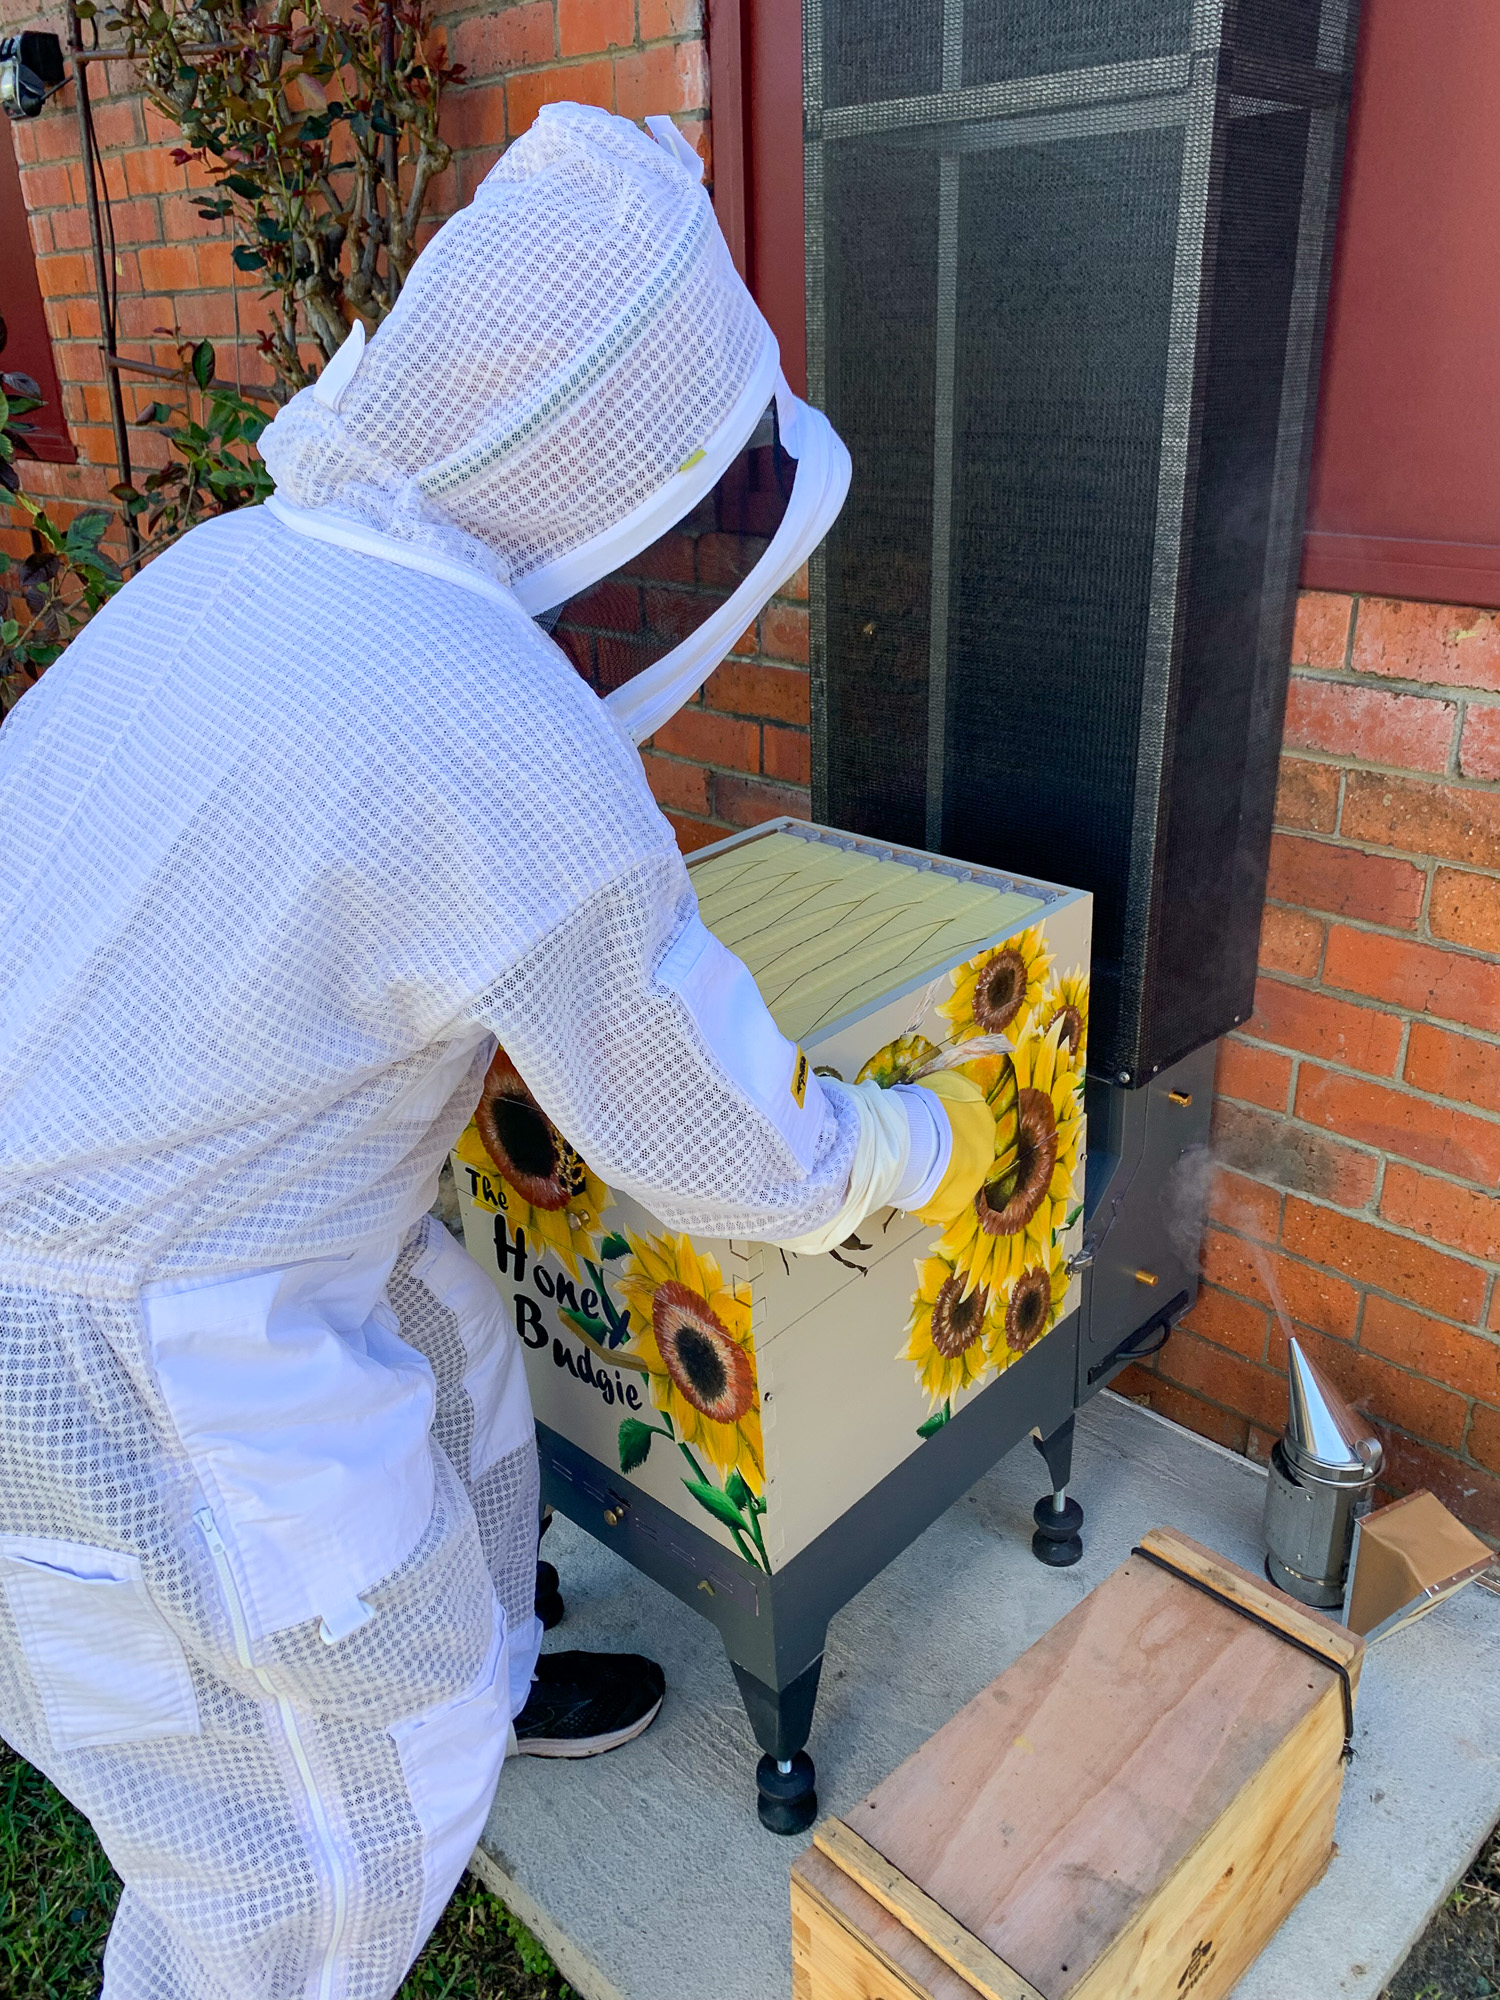
A quick segway – to explain the components of a beehive.

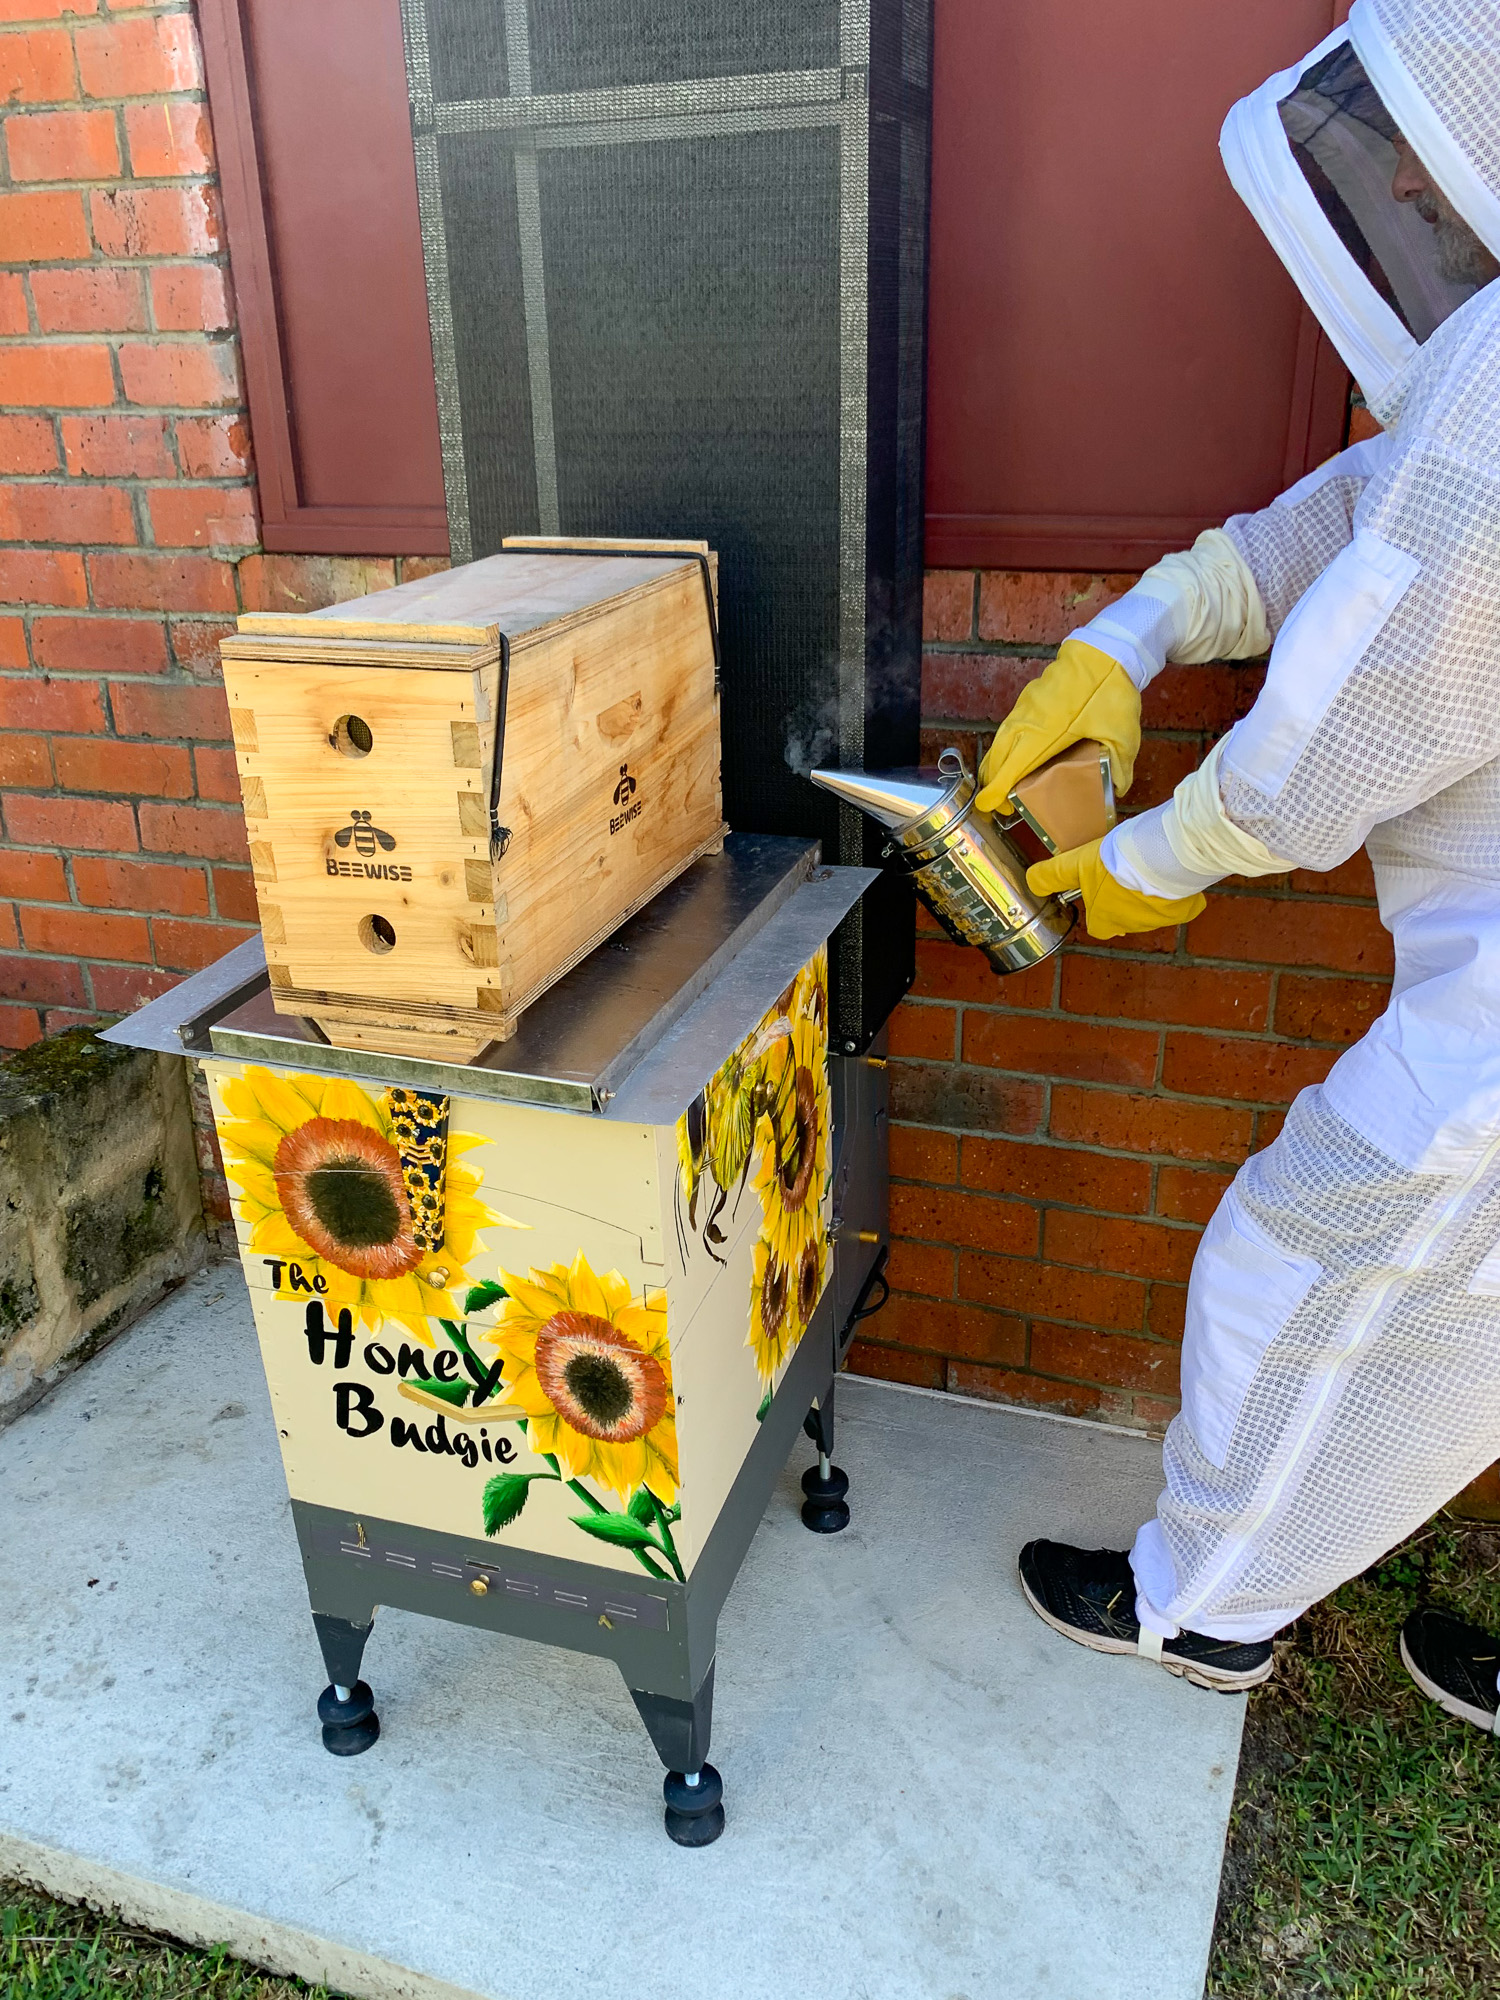
First up this picture shows the front of the hive. On the opposite (rear) face of the hive, which you can’t see in this pic, is the hive entrance, where the bees enter and exit. So, working from the bottom up, the rest of the main hive components are:
- The Stand (on a Flow Hive) allows you to adjust the levels of the hive to that it has a 3O slope, from back to front, which ensures the honey flows toward the front of the Flow Hive Frames so you can harvest it. The legs of the Stand also have pest traps on them, they’re the little round things above the feet, which you fill with oil or grease to stop pests like ants getting into the hive.
- Behind that little panel you can see with the slots in it is a tray which captures all of the detritus of the hives. Over time this’ll collext bits of wax, dead bees, pollen etc. It’s also a good spot to monitor for hive pests like Wax Moth etc. Additionally, on a Flow Hive, that little panel is reversable, and by turning it 180O and refitting it, you can allow or stop air from flowing into the hive. In winter you’d normally have this vent closed, and open in summer.
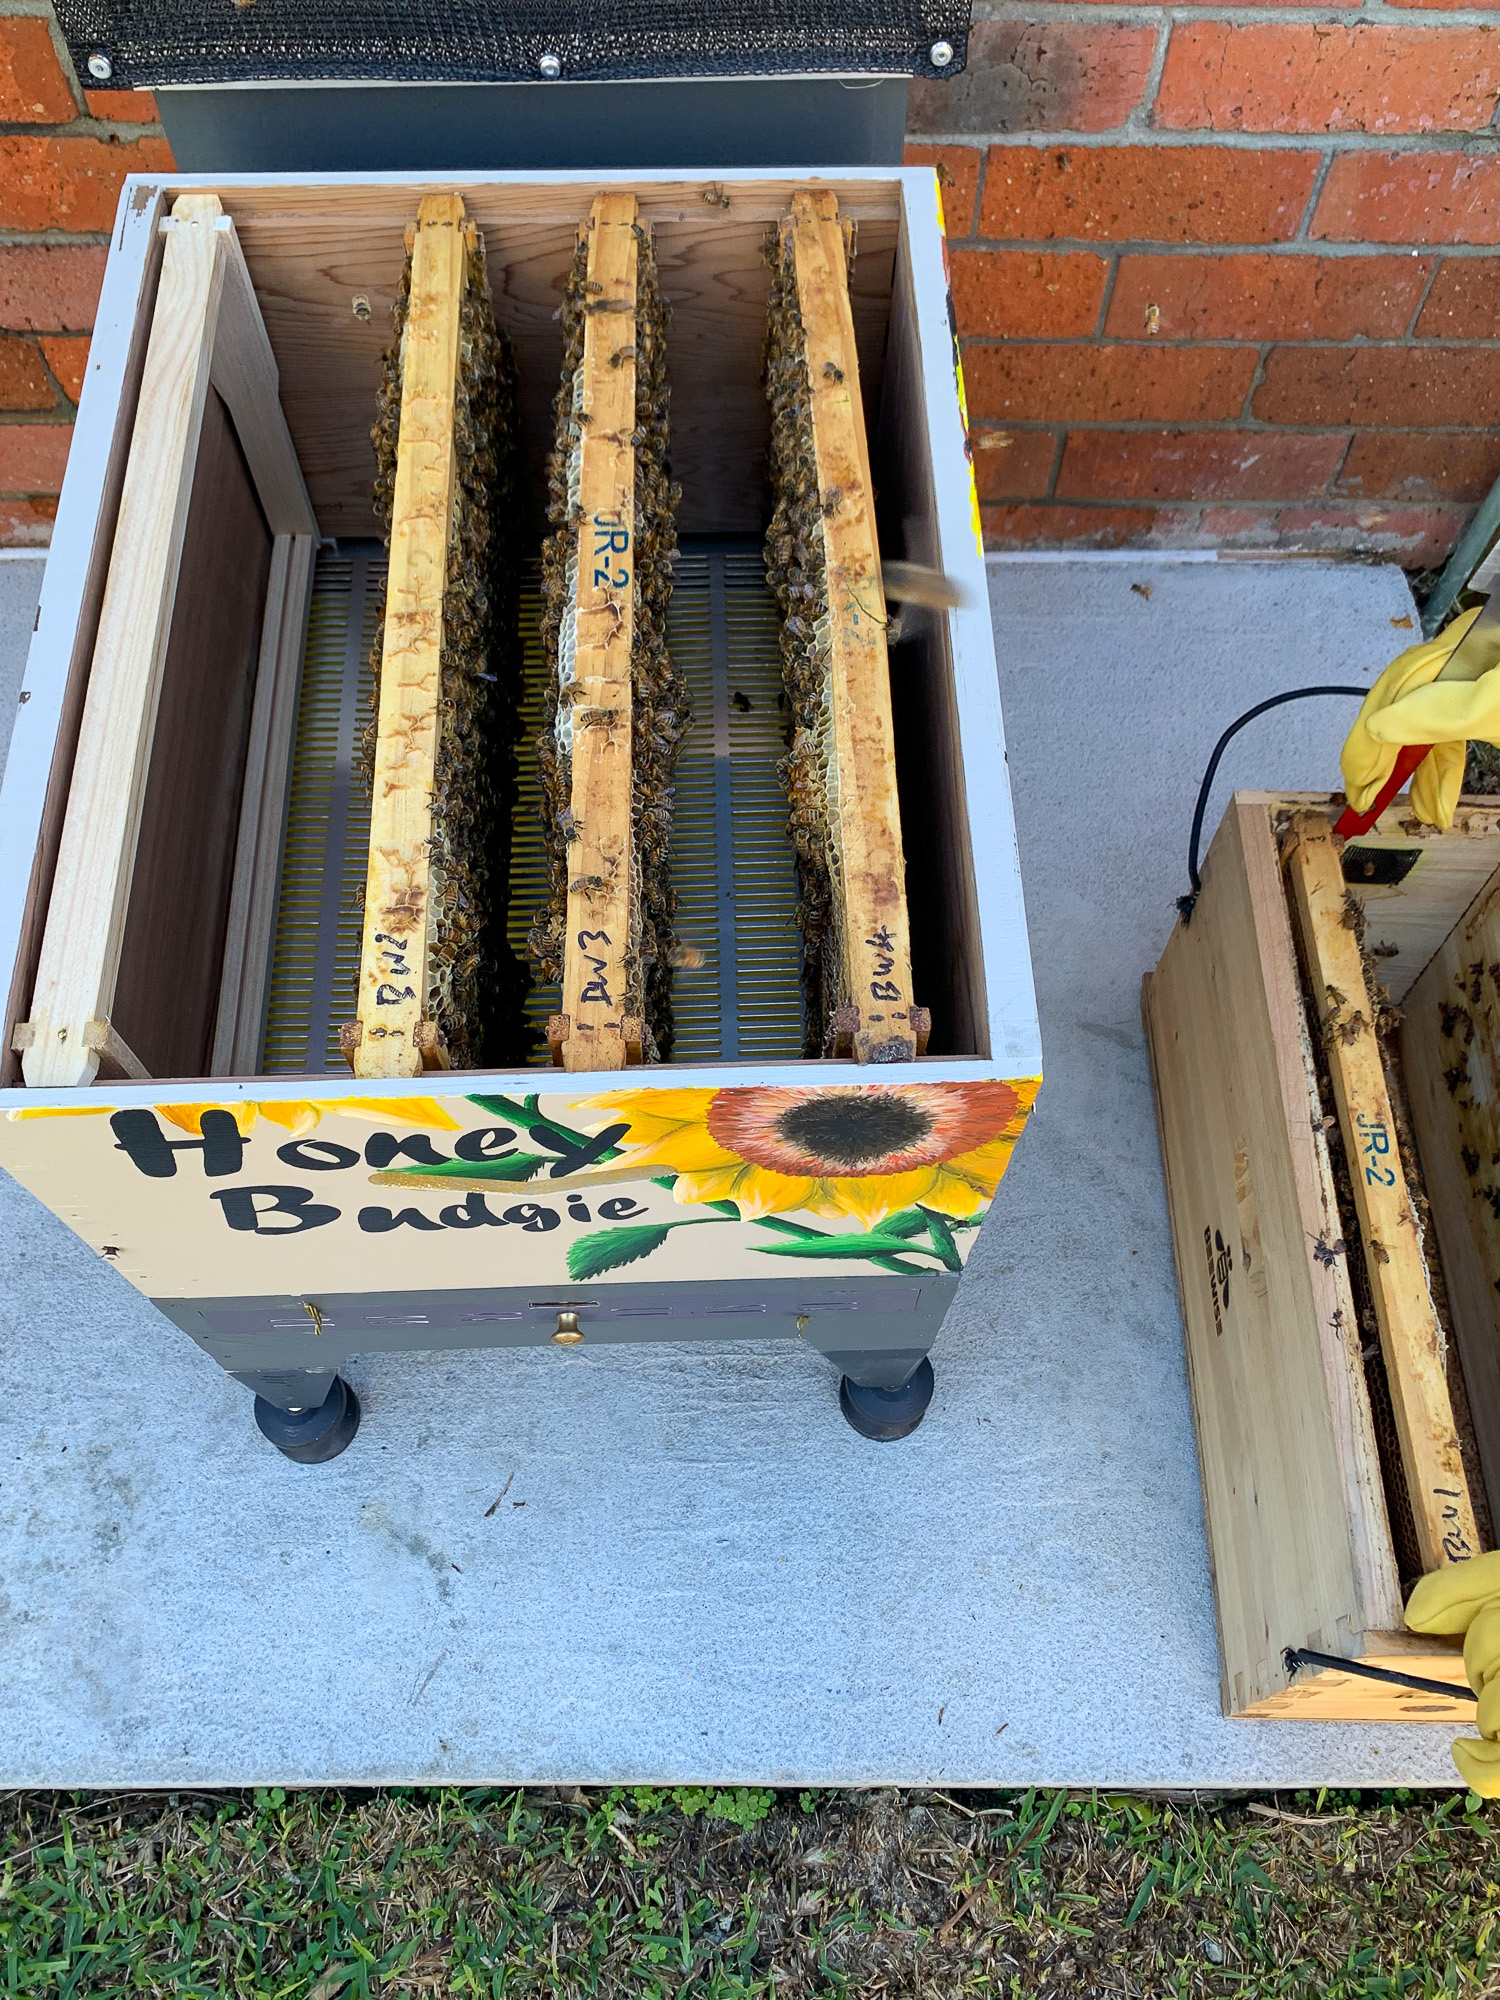
- Next is the Brood box which is the heart of the hive. The Brood box is simply a box with no bottom or lid (i.e. the four side walls only), in which you slot in your frames. The bees built out their wax comb on the frames and use the comb to lay brood, which is eggs for new bees, or to store pollen, nectar or the honey they’ve made. This is where the Queen bee will lay eggs and hang out.
- Typically between the Brood box and Super is a Queen Excluder. This is simply a wire (or plastic) mesh tray, where the holes in the mesh allow the workers bees through, but are to small for the Queen bee to get through. This confines the Queen to the Brood box, where she is tended by the workers and lays her eggs. Whilst the workers move up into the Super and use the frames in there to make honey.
- The Super is essentially the same design as the Brood box, however, as the Queen can’t get into it, due to the Queen Excluder, the worker bees build out the wax comb in here and use it for making and storing honey. In a Flow Hive there’s a removable panel, which in the above pic is from just below the “The” in the painting, and runs up to about halfway through the upper sunflower. By removing this panel you can access the front of the Flow Frames and harvest the honey. Note, a hive can have multiple Brood and/or Super boxes stacked on top of each other.
- Finally there’s the Roof (or lid). In a Flow Hive they provide a nice little gable roof, but in a standard bee hive, this is usually a flat cover, possibly insulated timber to help keep the hive temperatue regulated.
OK, now you know the basics of a hive, let’s get back to the story.
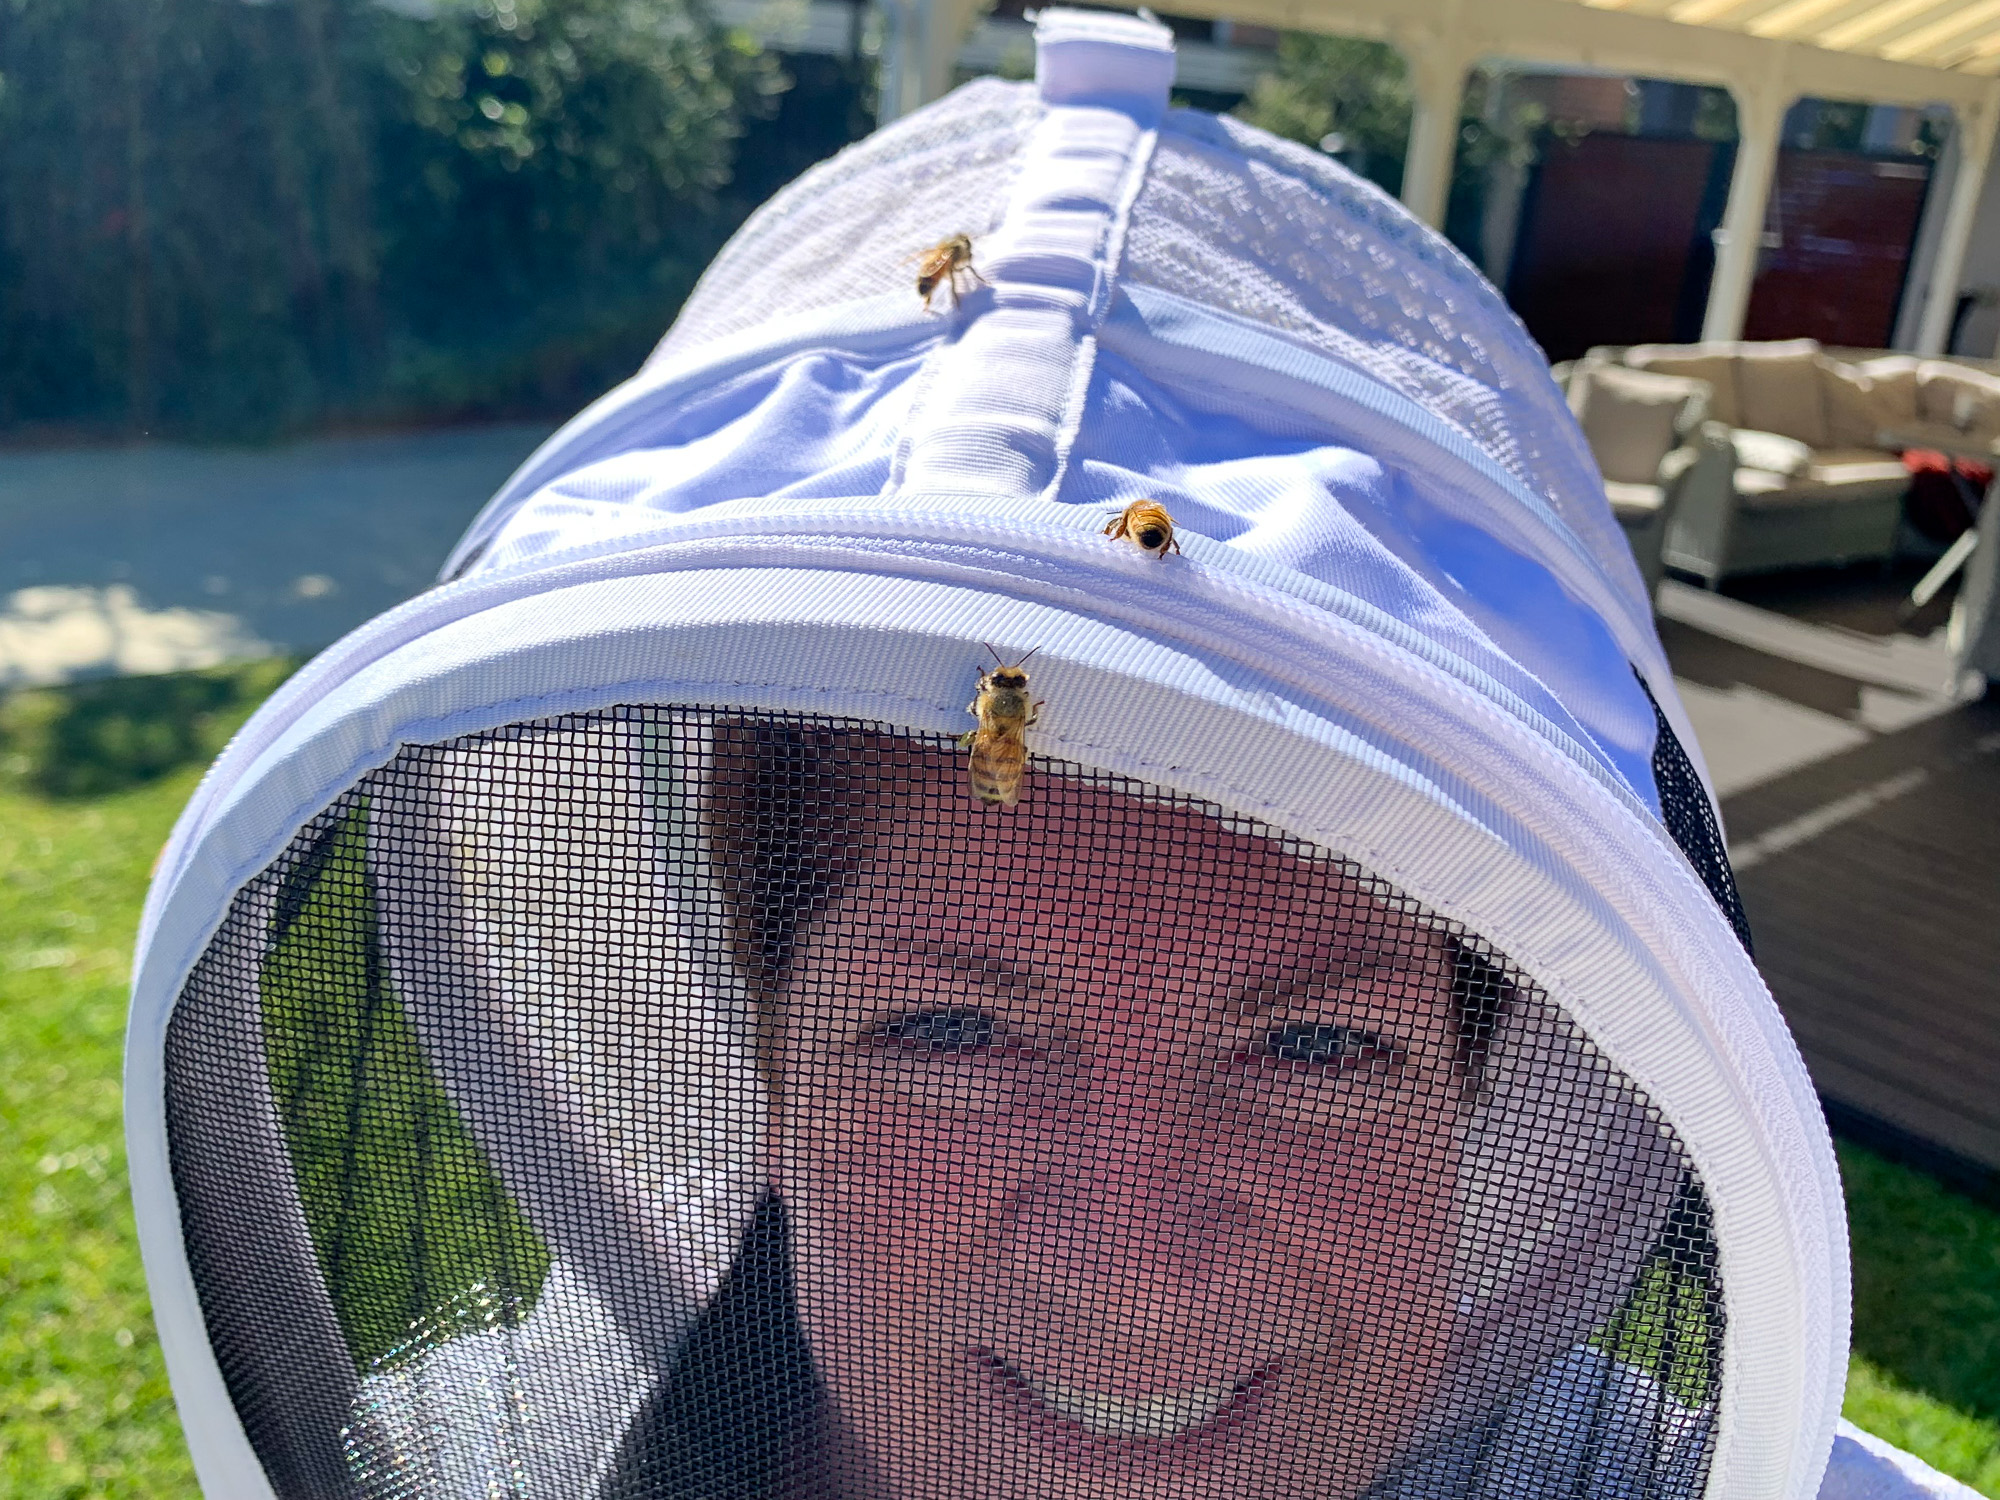
Our first challenge was getting the smoker to smolder away and produce a nice, constant supply of cool smoke. I’d grabbed some dried gum leaves and soon found they flared up initially upon lighting, but then died out pretty quickly. This meant we were fiddling around a fair bit, having to repack and light the smoker. We’ve since learned, and tested, that the fibrous Jarrah bark is good for smokers. If you get some Jarrah bark and pull out and rough up/rub the red hairy strands together, they then smolder nicely in the smoker.
We eventually got the smoker working enough and gave ourselves and the NUC some puffs of smoke. This brings us to our next segway – why smoke the bees?
When threatened bees release an alarm pheromone, a smell, which puts the other bees on alert and prepares them for the defense of the hive. Smoke masks this pheromone, minimising the ‘angry bees’ you have to deal with. It’s thought that the smoke also makes the bees there’s a fire, and so in preparation for abandoning the hive, they gorge themselves on their honey stores. This then makes them sluggish and harder to use their stinger as they’re so full up on honey.
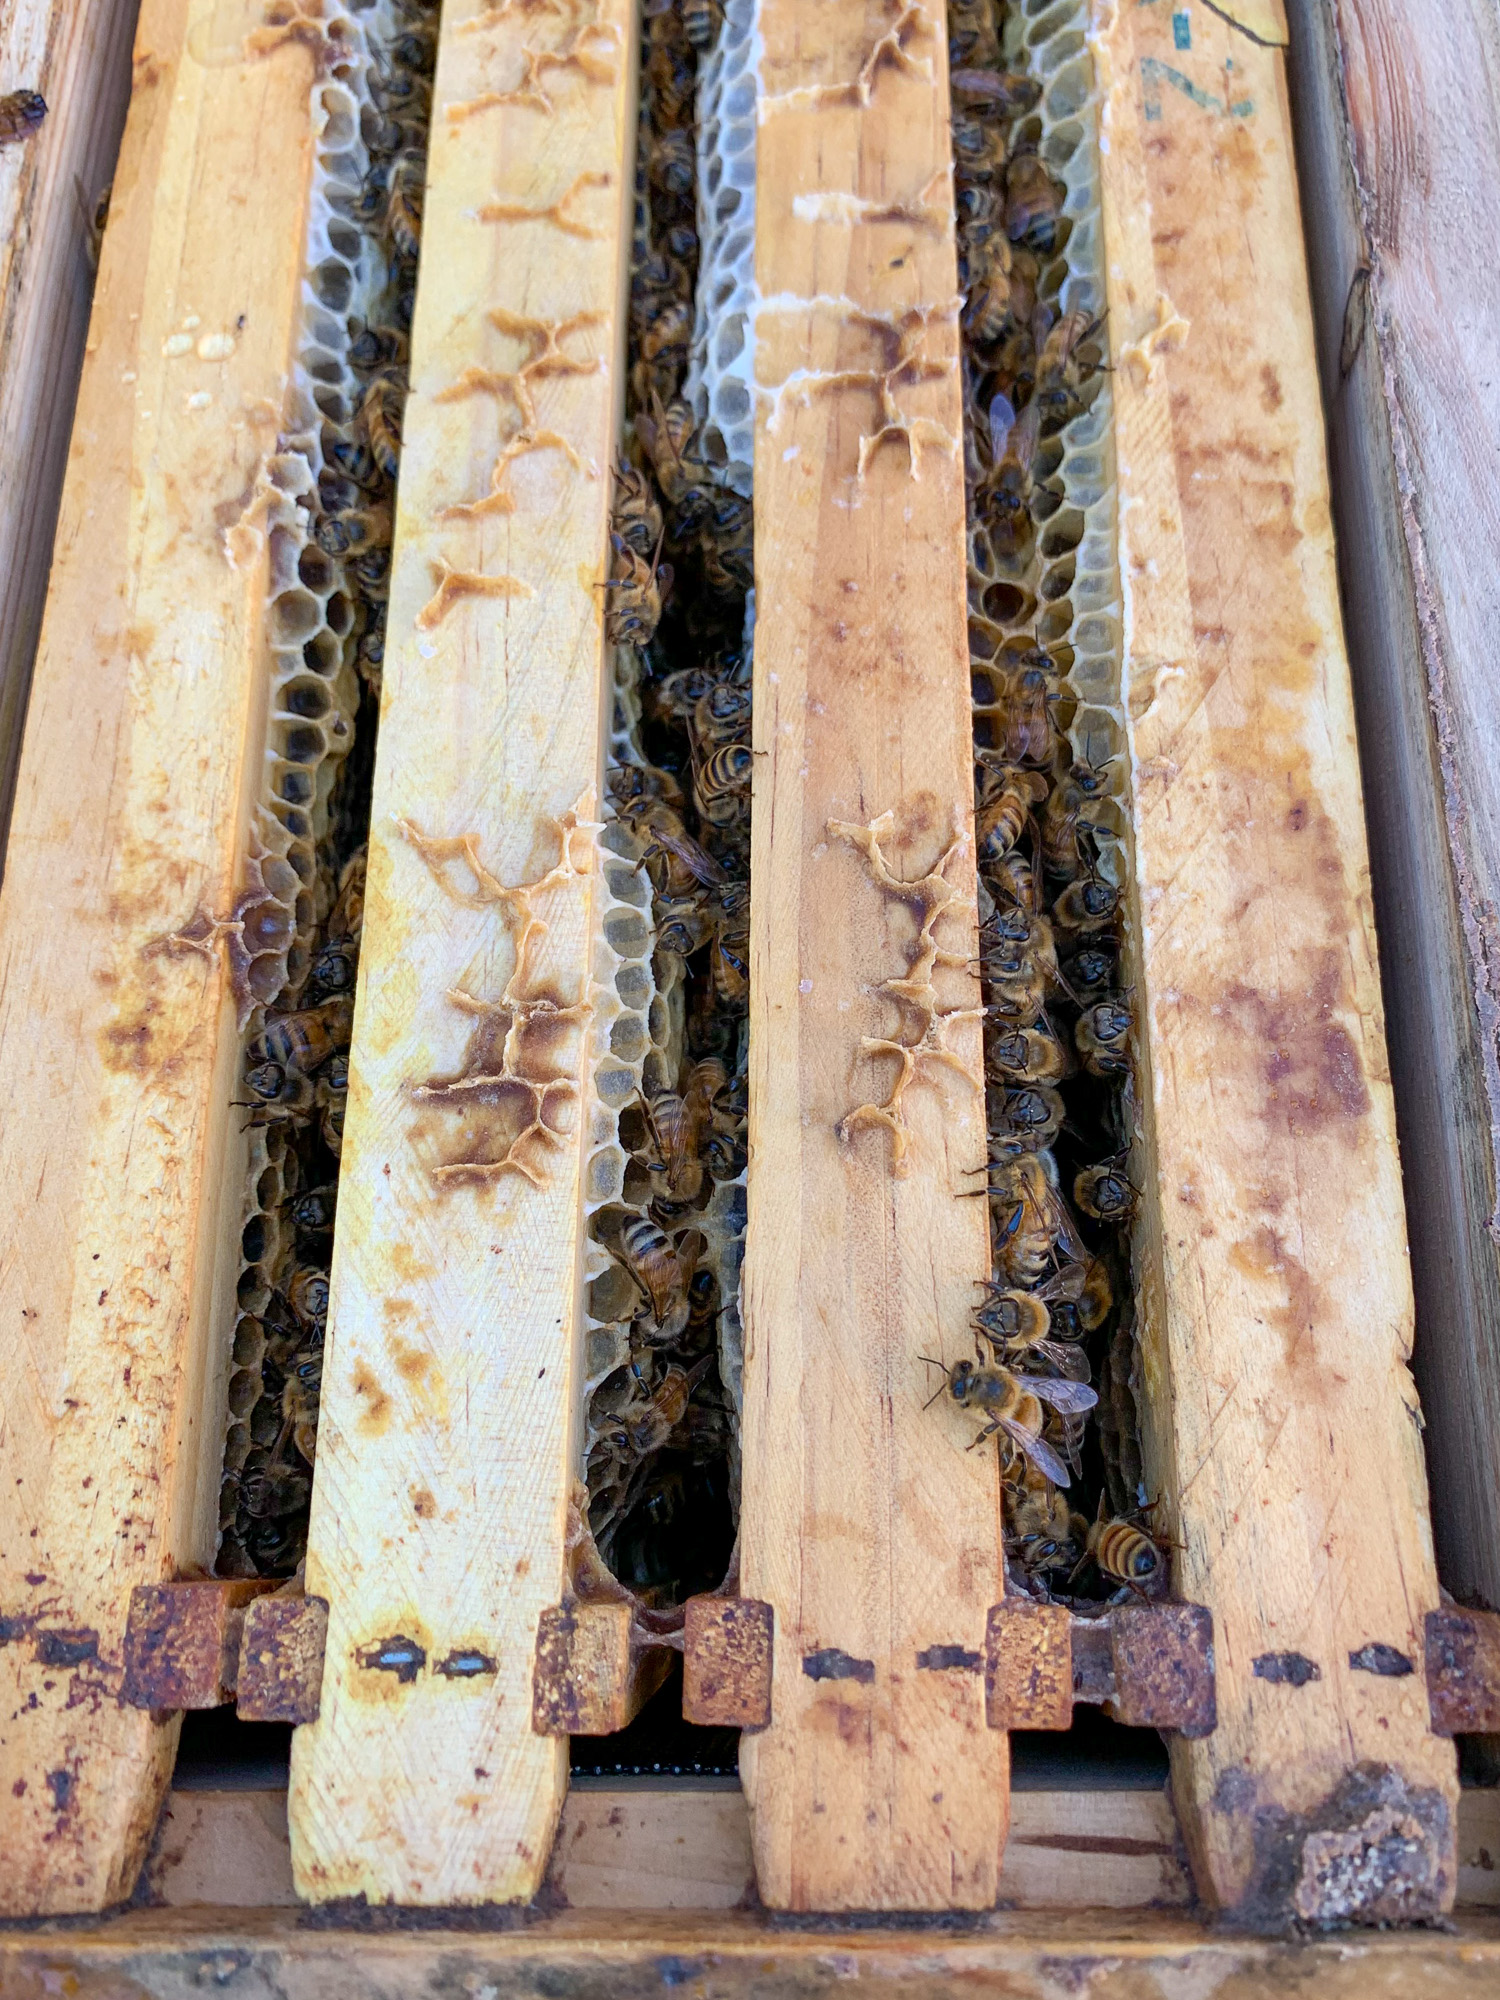
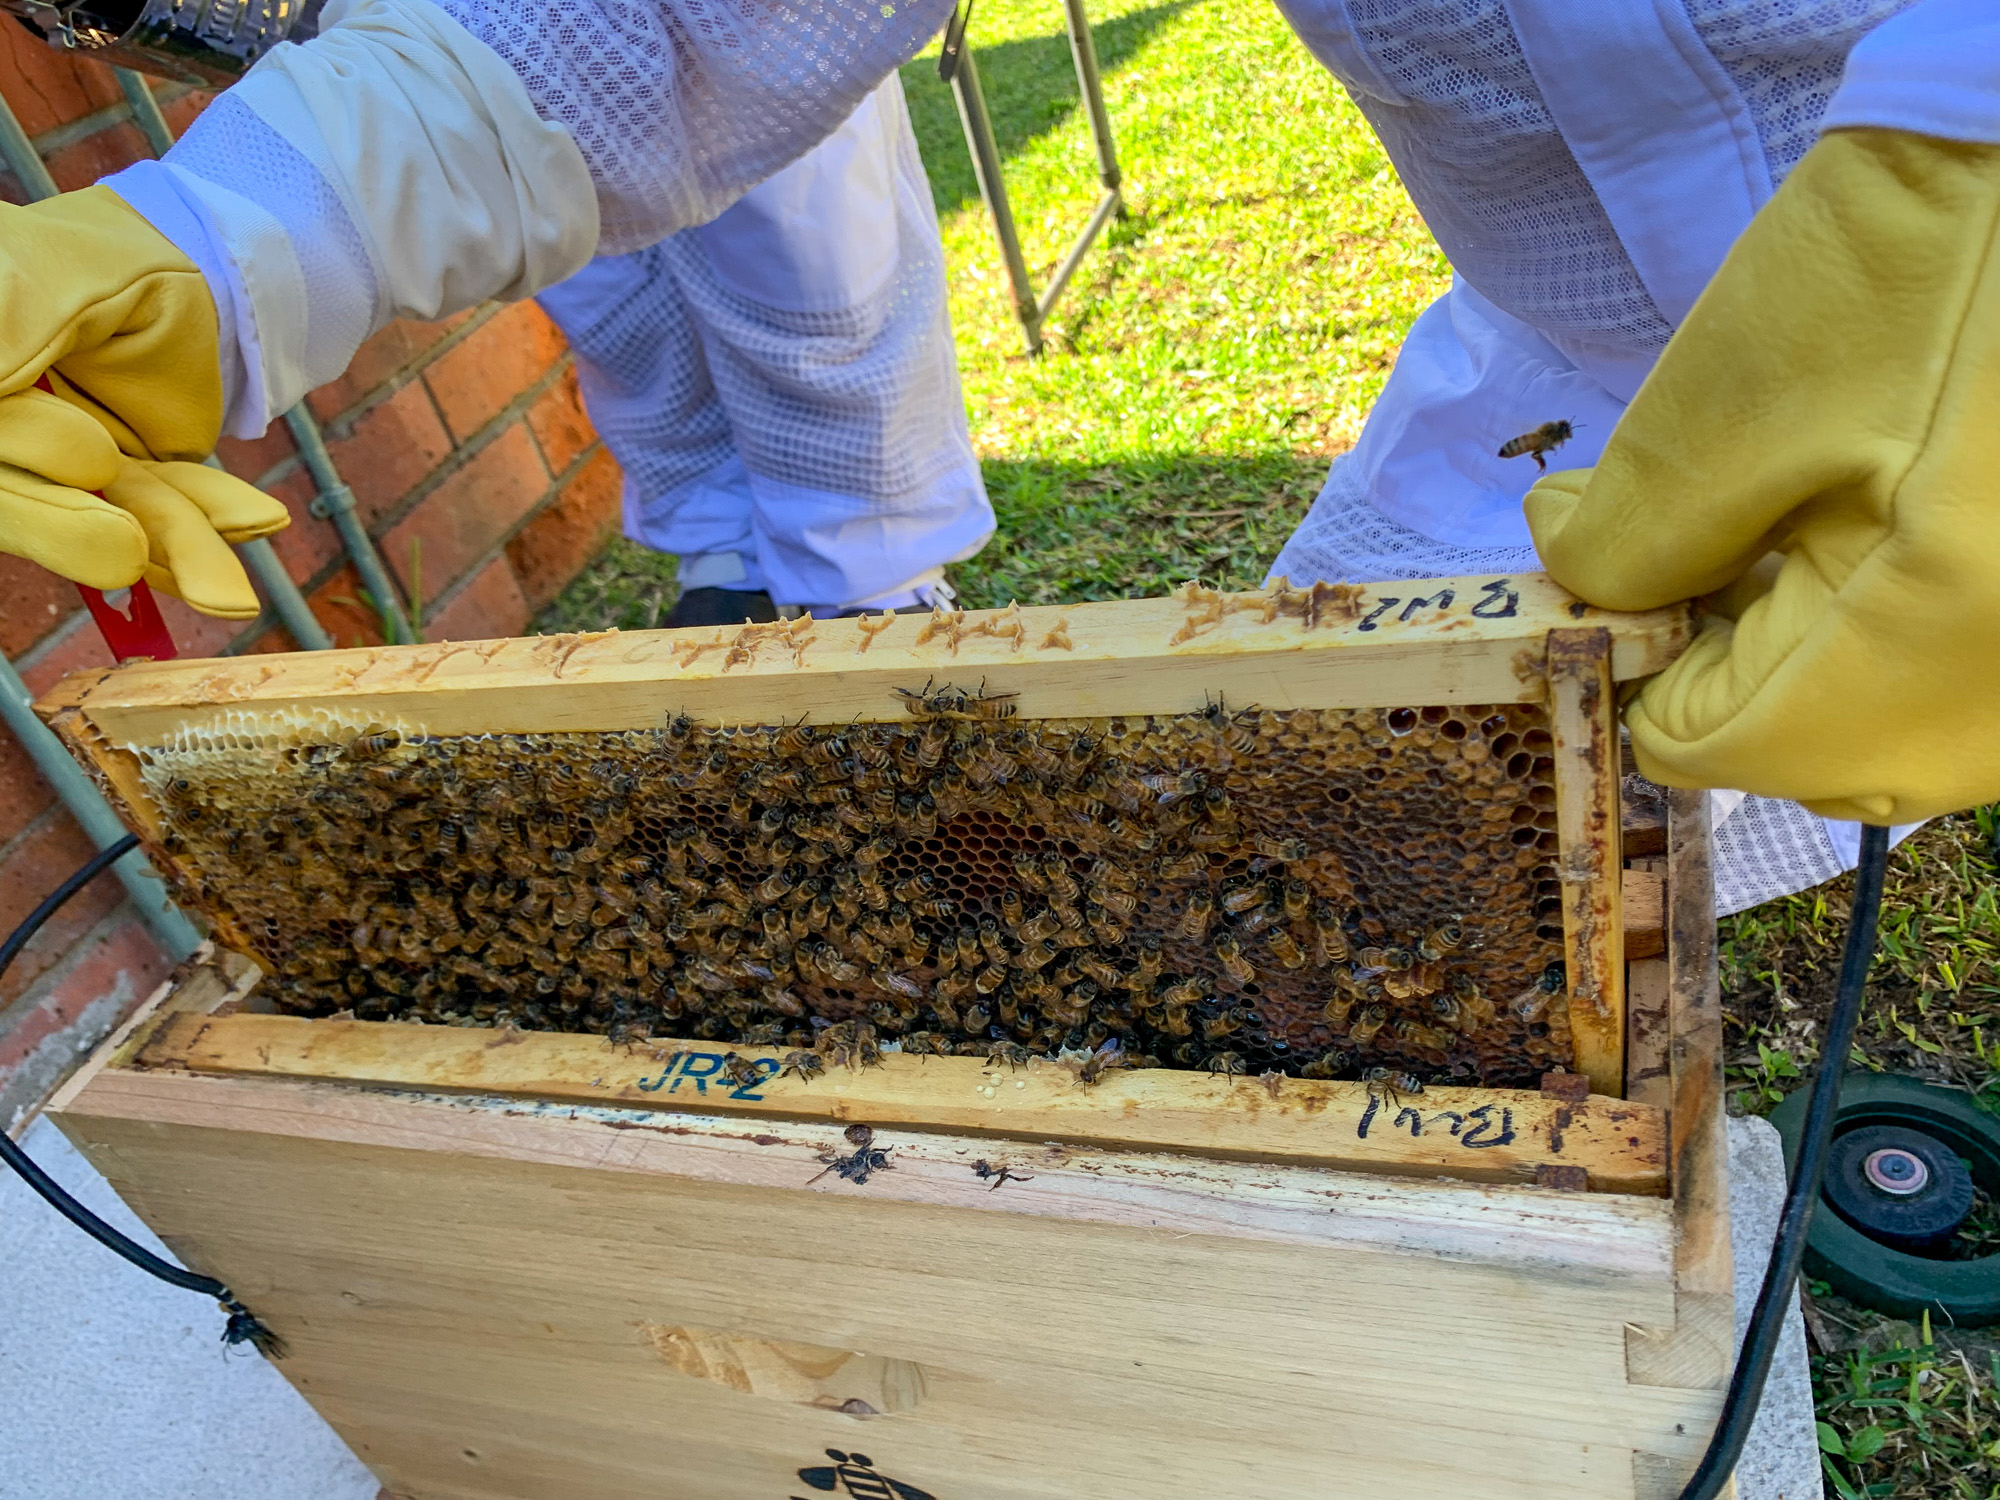
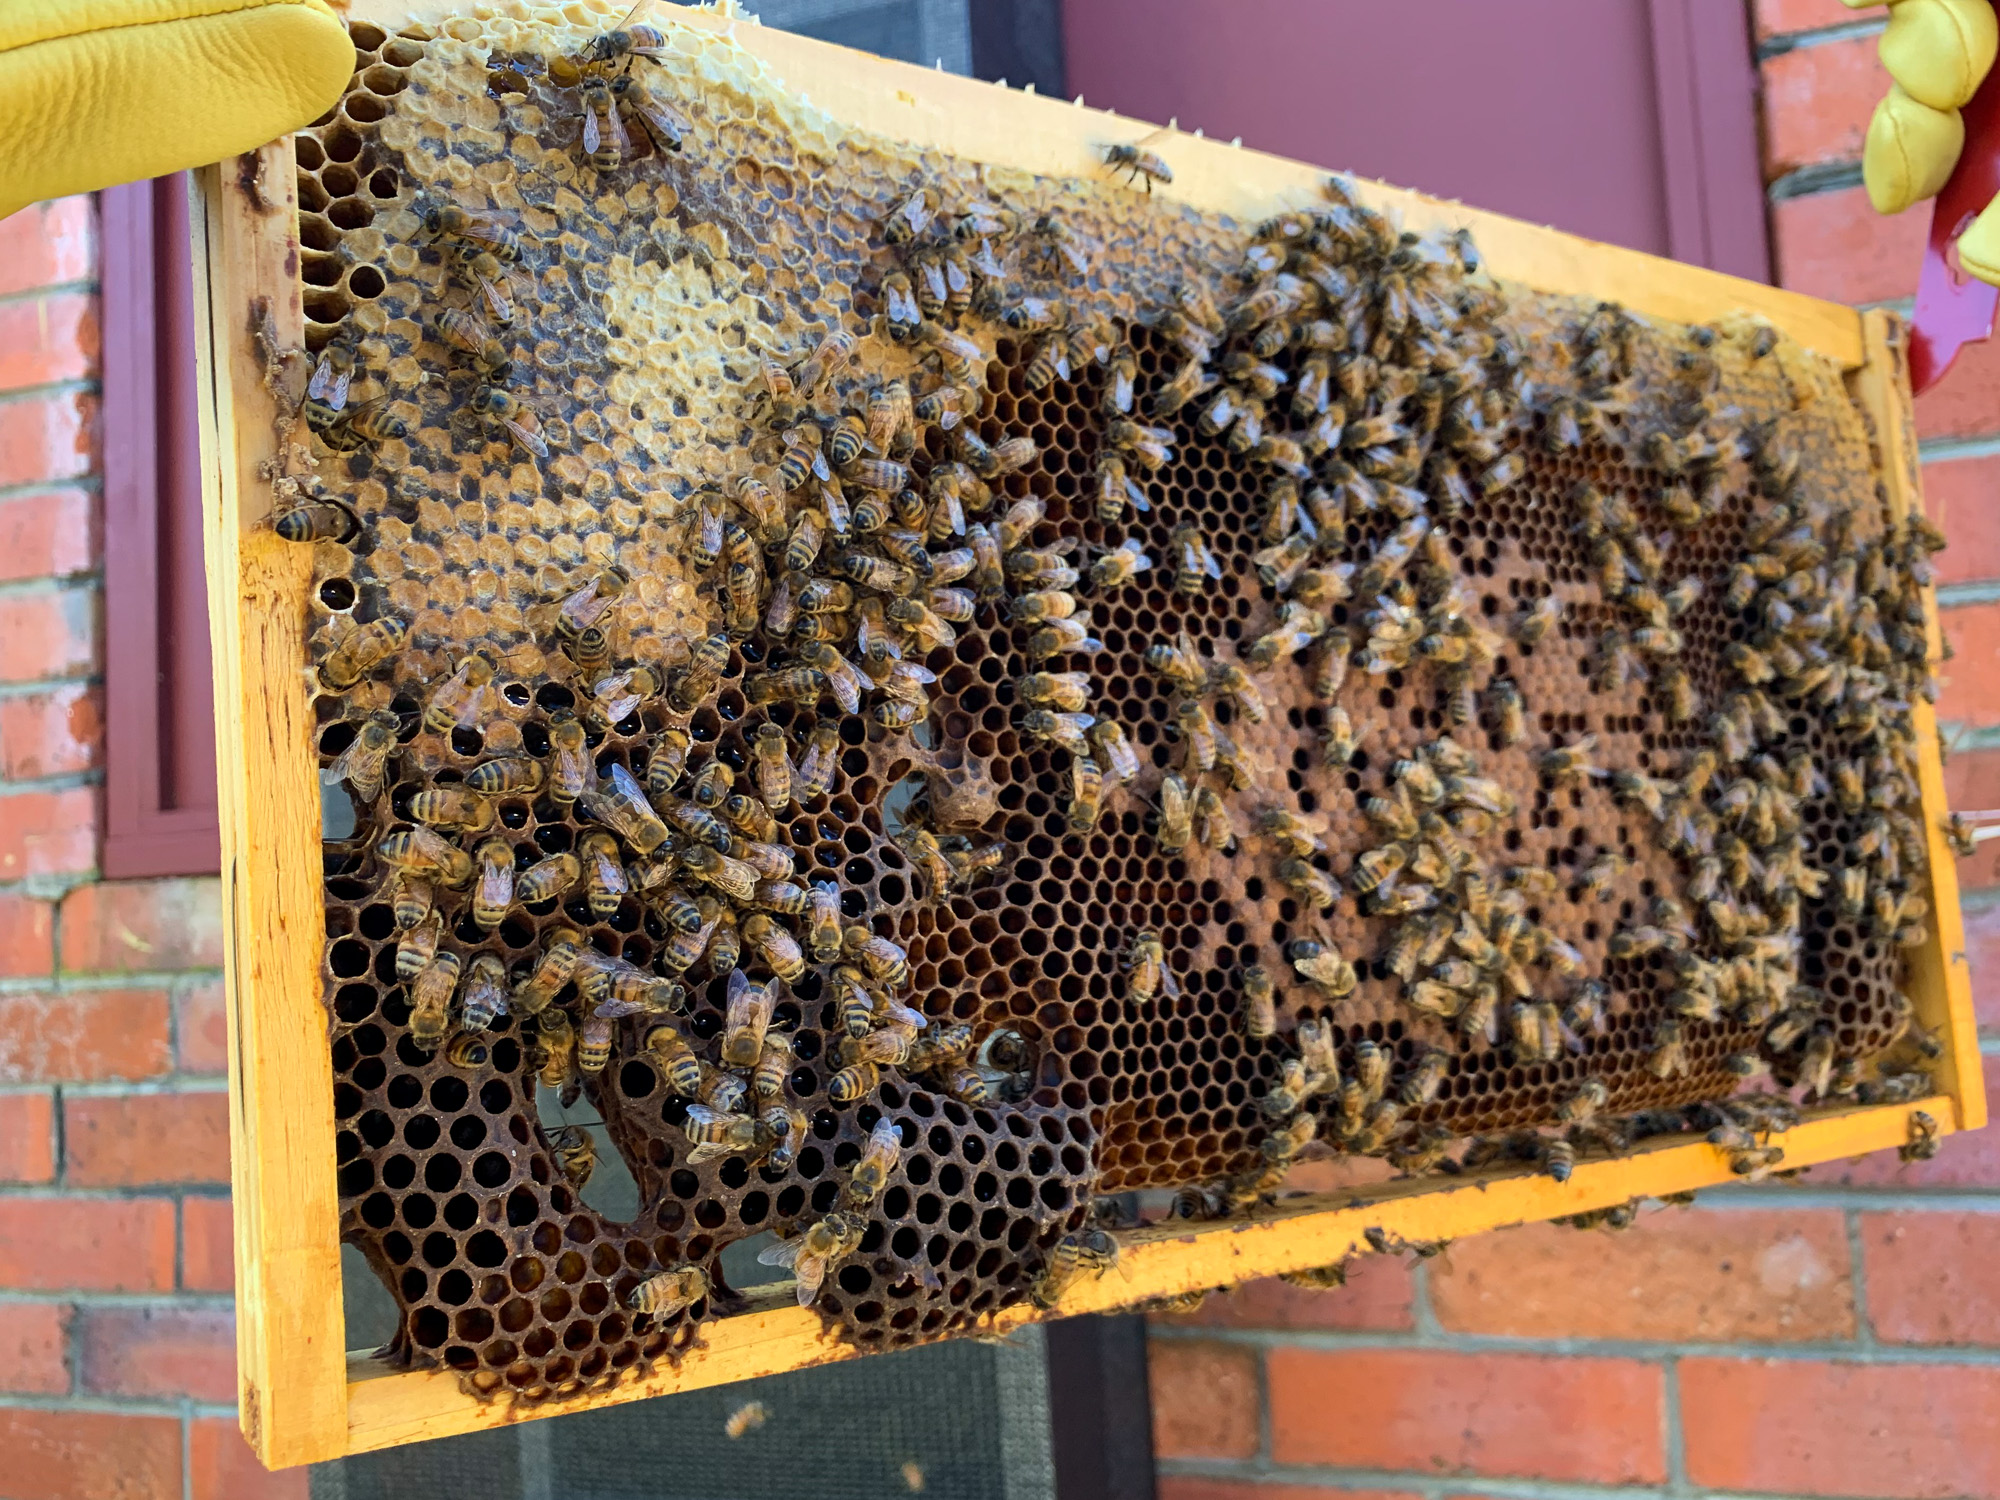
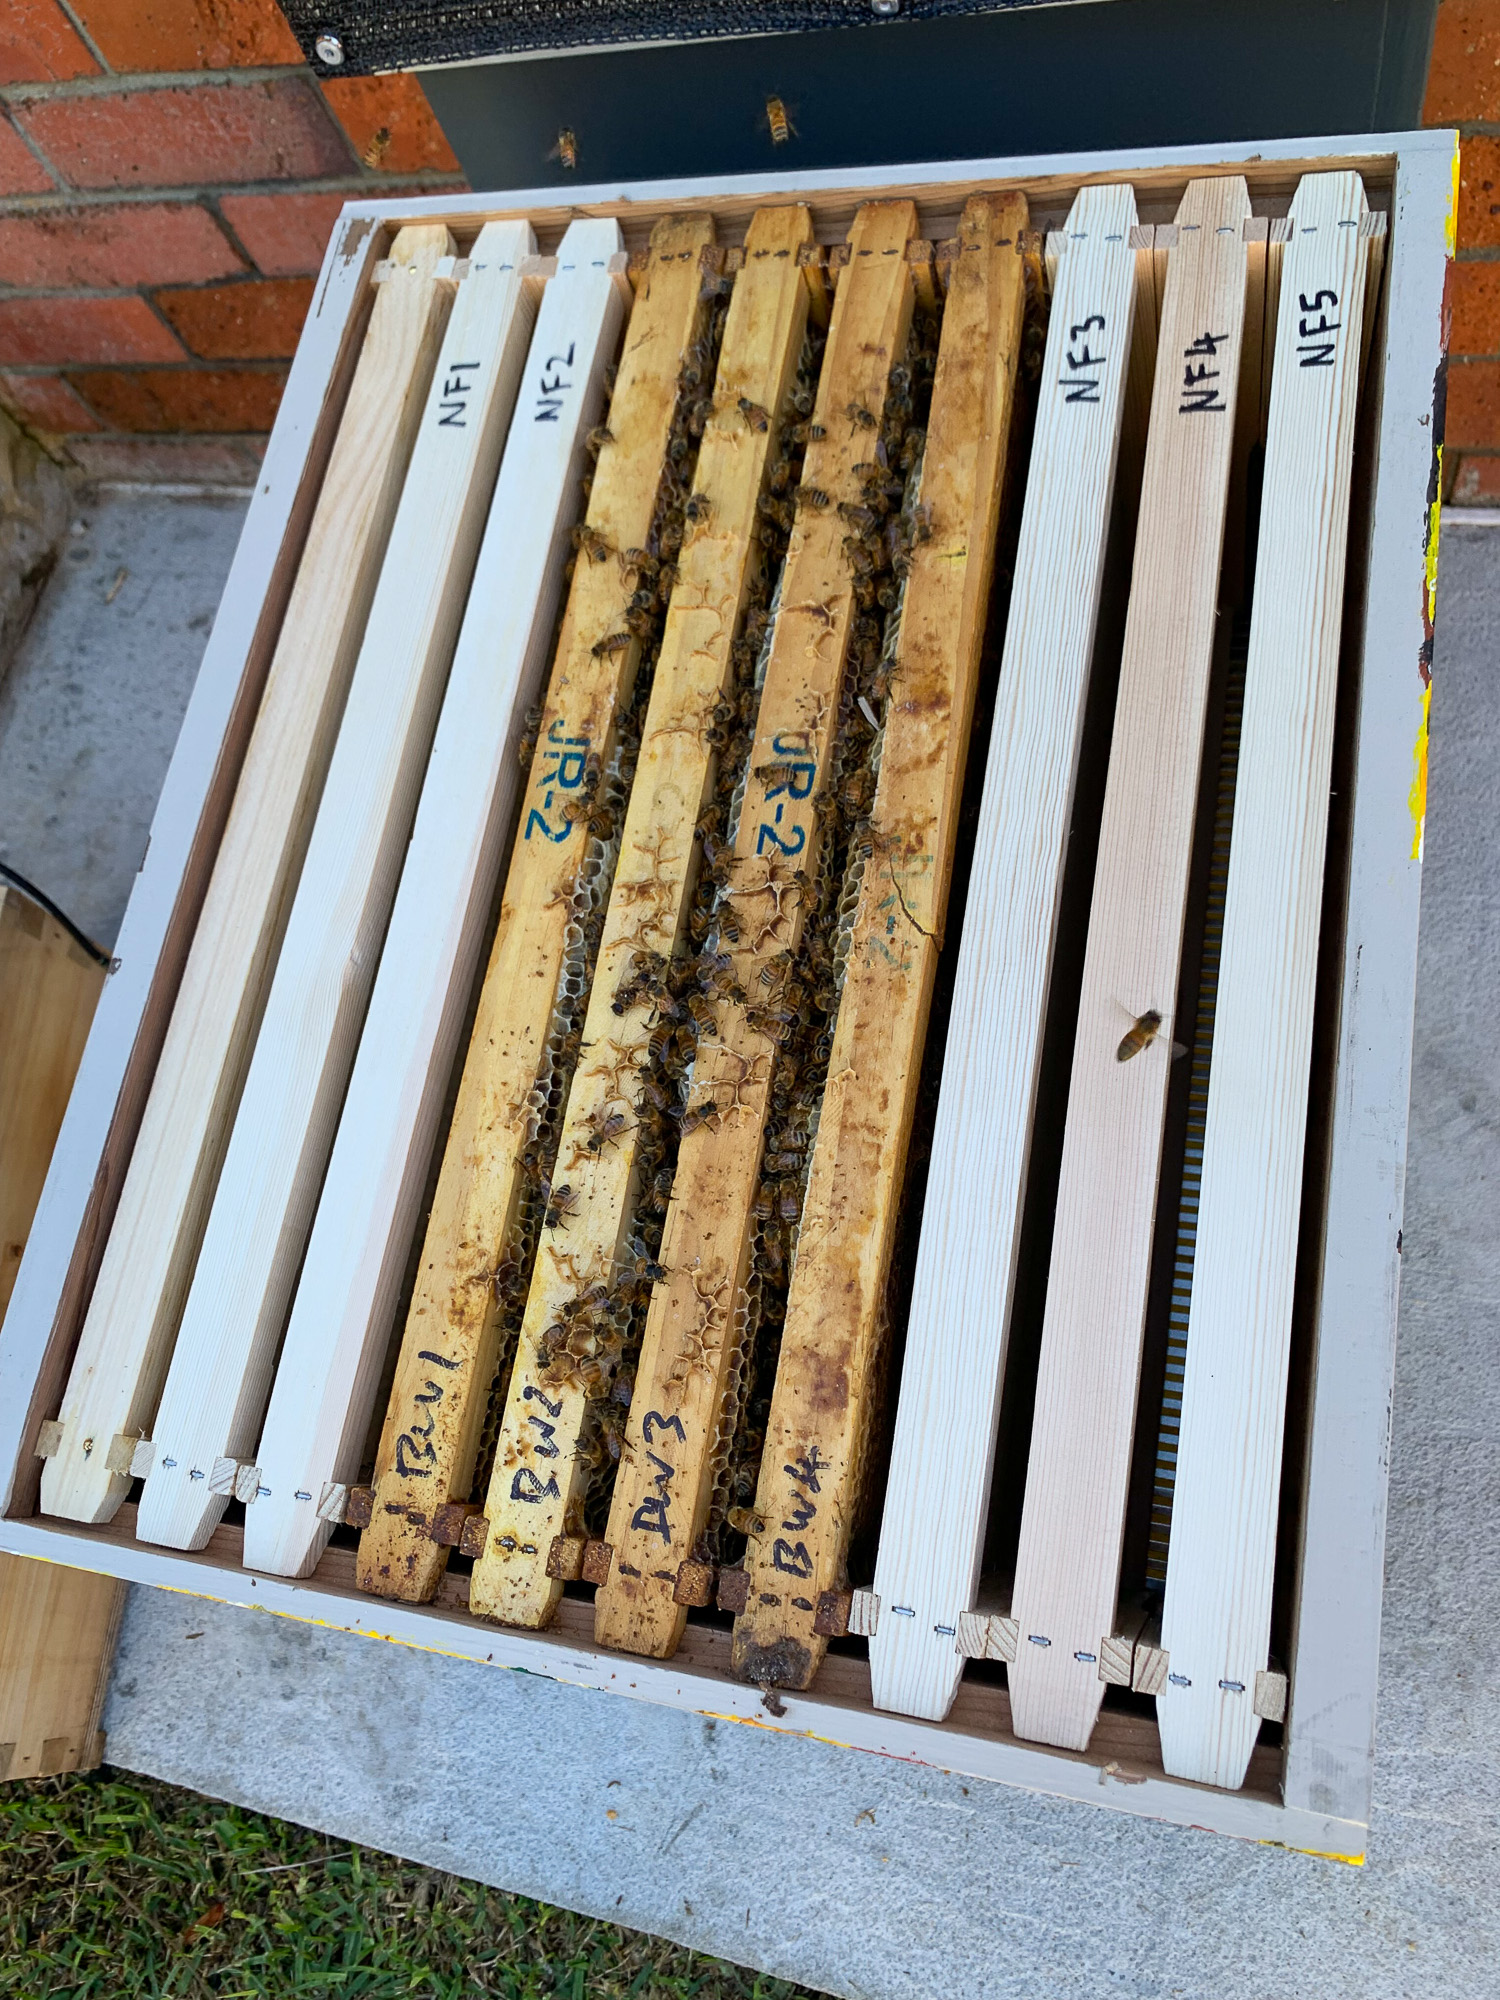
OK, smoke applied, we opened up the NUC, and using our J tools, we carefully levered out the four NUC frames, one at a time, moving them from the NUC into the middle of the Brood box.
As it was relatively cool this morning, we didn’t spend any time performing a detailed inspection of the frames, opting for some quick photographs for records, and getting the NUC frames into the Brood box as quickly as possible. We have a ten-frame capacity Brood box, so we then installed six new wax foundation frames, three new frames on either side of the four NUC frames we’d relocated, into the Brood box.
Note, to minimise the internal hive space that the bees need to keep warm, and to allow them to reproduce and expand out to a strong and healthy colony, you leave the Super off the hive for the first couple of months. This forces the bees to build out into the full ten frames of the Brood box first, by which time you could have as many as 50,000 bees in there!
So, it was on with the roof and step back to see how they settle down. This was also the first opportunity I had to see how the bees responded to and use my innovative chimney solution – but we’ll discuss this in the next post.