Our previous visits to Gemtree had been for the Garnet fossicking, however this trip, we did the Zircon fossicking.
For the unknowing, which was us until our first visit to Gemtree, Zircons are a naturally occurring gemstone which when cut are similar in clarity and look to Diamond and have often been used as a cheaper imitation stone. Zirconia, sometimes referred to as Cubic Zirconia, is a man/artificially made version of Zircon and you’ll often see Zirconia in the cheap jewellery stores.
Unlike the Garnets, Zircons are tricky little buggers to see and it takes some time to ‘get your eye in’, even then I reckon we, and most people, chuck away a good percentage of stones. As we’ve never fossicked for Zircons before we chose to do the Gemtree fossicking tour, $75 for 2 people for a day of fossicking where they provide all the gear and the tips for how to find them. Anyway, from our Gemtree fossicking tour we ended up with eight ‘cutters’ which is a great result as a typical haul of cutters is normally 2 to 4. We also finished with near on 50’odd non-cutters, stones with fractures or inclusions, which whilst they can’t be cut or facetted, they are pretty when cleaned up and I hope to tumble polish some when I get home.
We then spent another 3days of our time here Zircon fossicking in the general/public fossicking grounds. See pics below of our Zircon hole in the public fossicking area, but essentially you dig down to the alluvial gravel layer, which in most cases is a good 50cm deep so there’s a lot of excess, compacted mud/dirt to remove first. You then scrape out the gravel and dry sieve it to get rid of as much dust/dirt as possible. Next you sieve the stones again in bucket of water, the 1st wash, to remove the majority of dirt, before doing a second wash in another bucket of cleaner water to finish the washing process. Finally, you tip the gravel out onto a flat board and spread the stones out as much as possible as this makes the Zircons easier to see. You’d think a gemstone that imitates Diamond would be easy to pick out however this isn’t the case. In the gravel there’s a lot of Iron Stone which is a hard, black stone and the Zircons look a lot like it when wet, so you need to take your time flicking through the stones trying to catch a glimpse of light in the Zircons. After speaking to our neighbours, I’ve now learnt the Iron Stone is magnetic, so they use a strong magnet to remove the Iron Stone from the board, making the Zircons much easier to pick. The things you learn after leaving home and not packing a magnet. One thing, however, is both the Iron Stone and Zircons are heavy, appreciably heavier than similar stones such as Quartz etc. of the same size, so after a few days your fingers learn the weight of the stone which helps.
Unfortunately, I was a bit under prepared for our own, non-tour fossicking, as I’d only brought a single sieve, bucket and 20ltr water container and you really need two of each to complete the full process out in the field. I ended up comprising and dug, dry sieved and did the first wet sieve out at the pit. I then brought the pre-washed gravel back to camp where I could do the second wash and then sort them on our camp table in relative comfort, with a beer or cup of tea.
I haven’t graded our non-tour stones yet but I reckon we’ve easily got another 20’odd cutters and probably a couple hundred non-cuttable stones. A pretty good haul for amateurs and I intend to get as many cut as I can, after which I’ll work out what I’m going to do with them..
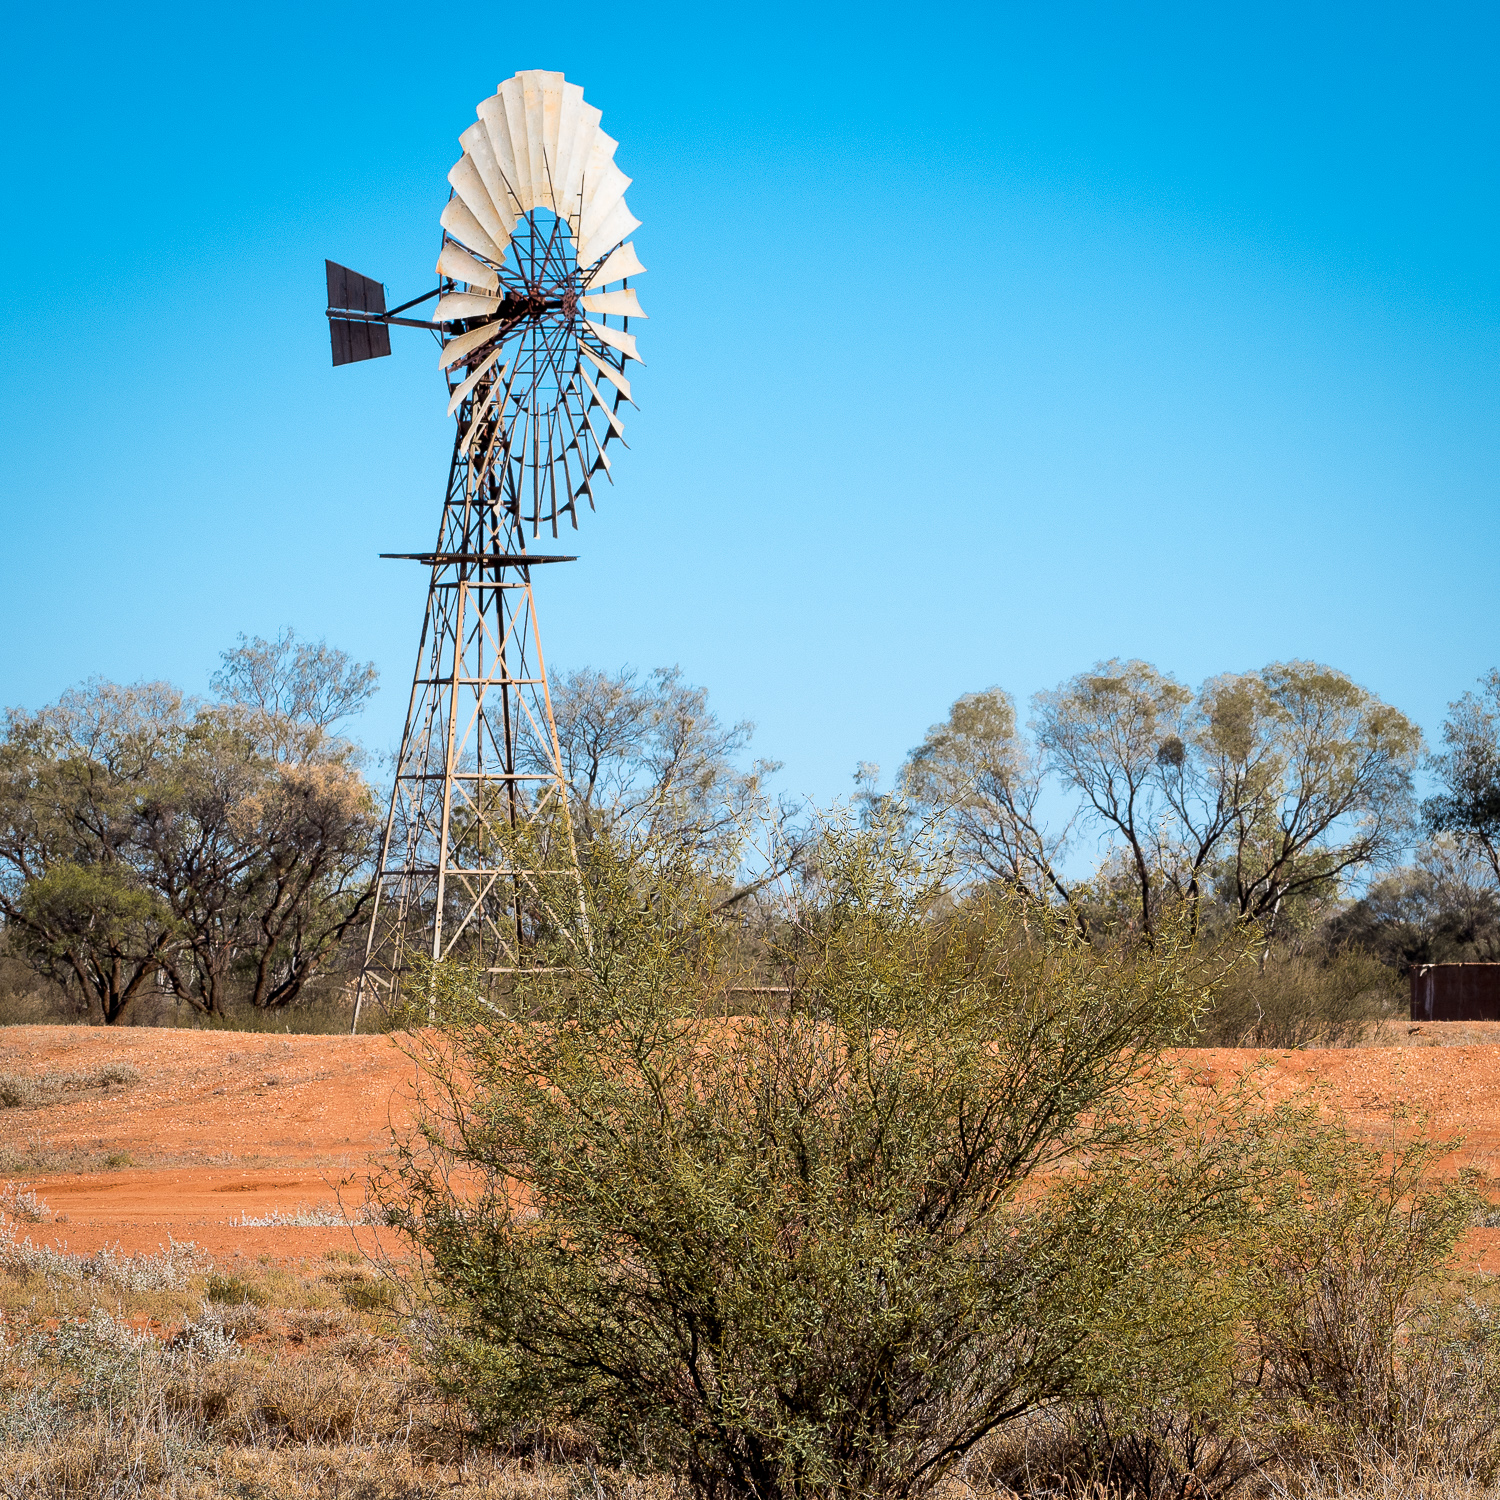
The Mud Tank Windmill, at the Plenty Hwy and Binns Track turnoff and the turnoff to the public Zircon fossicking field
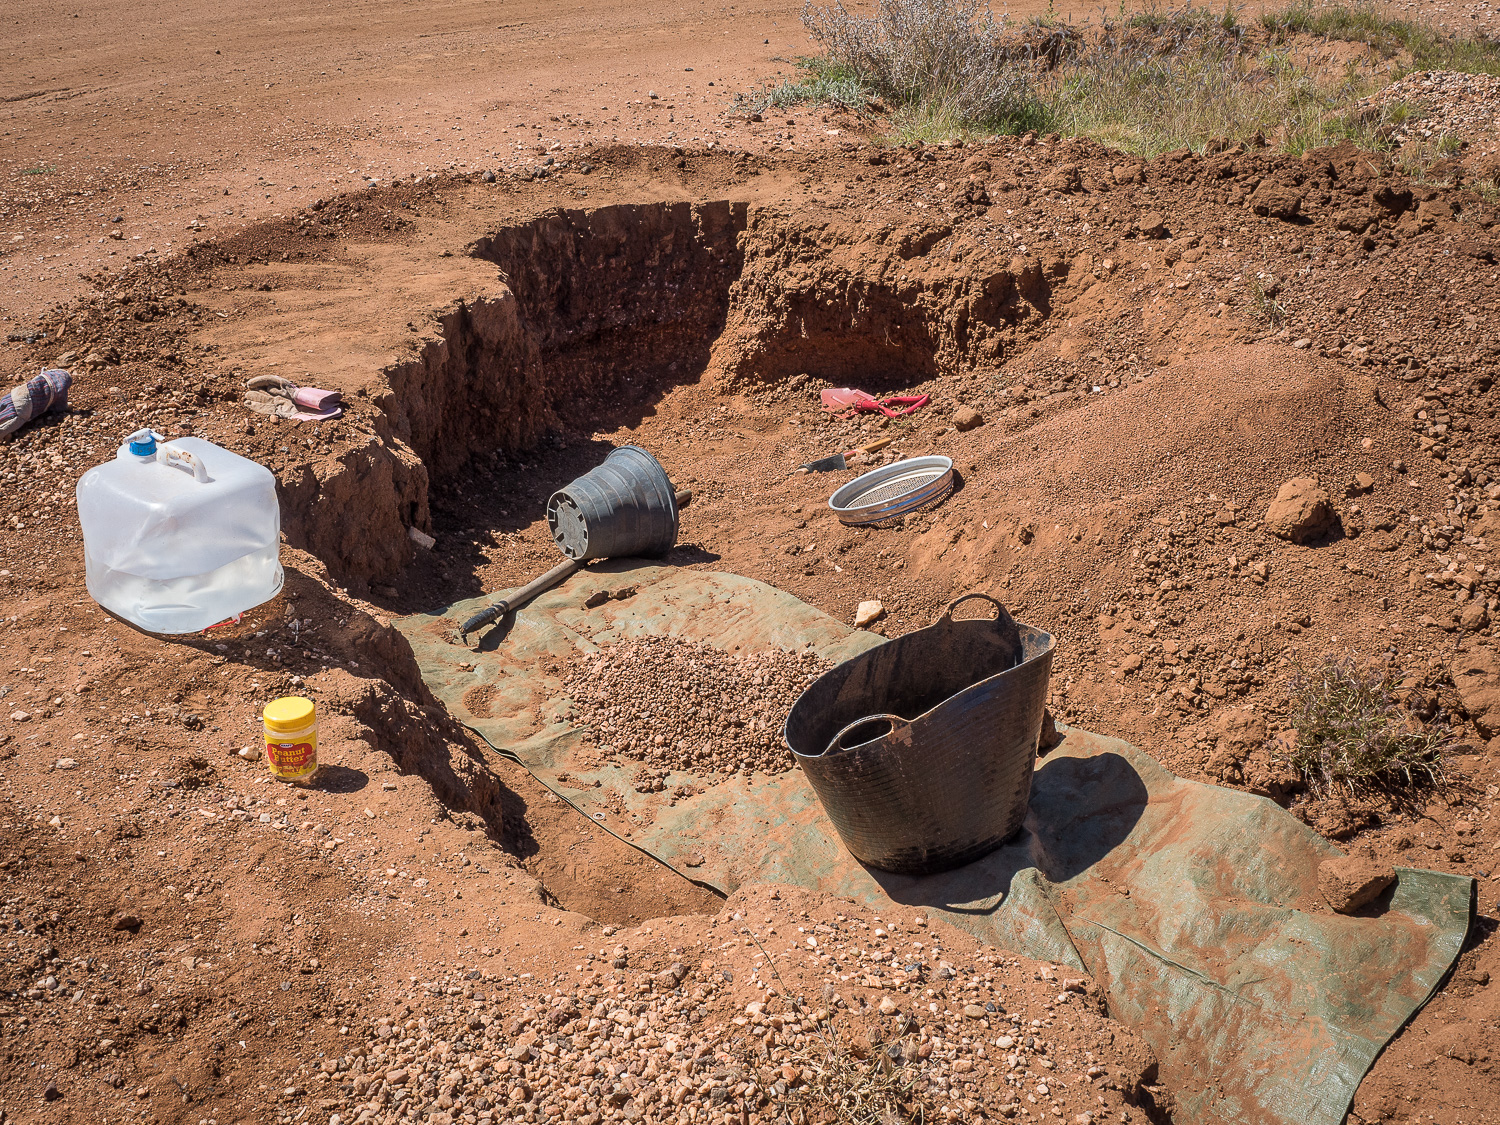
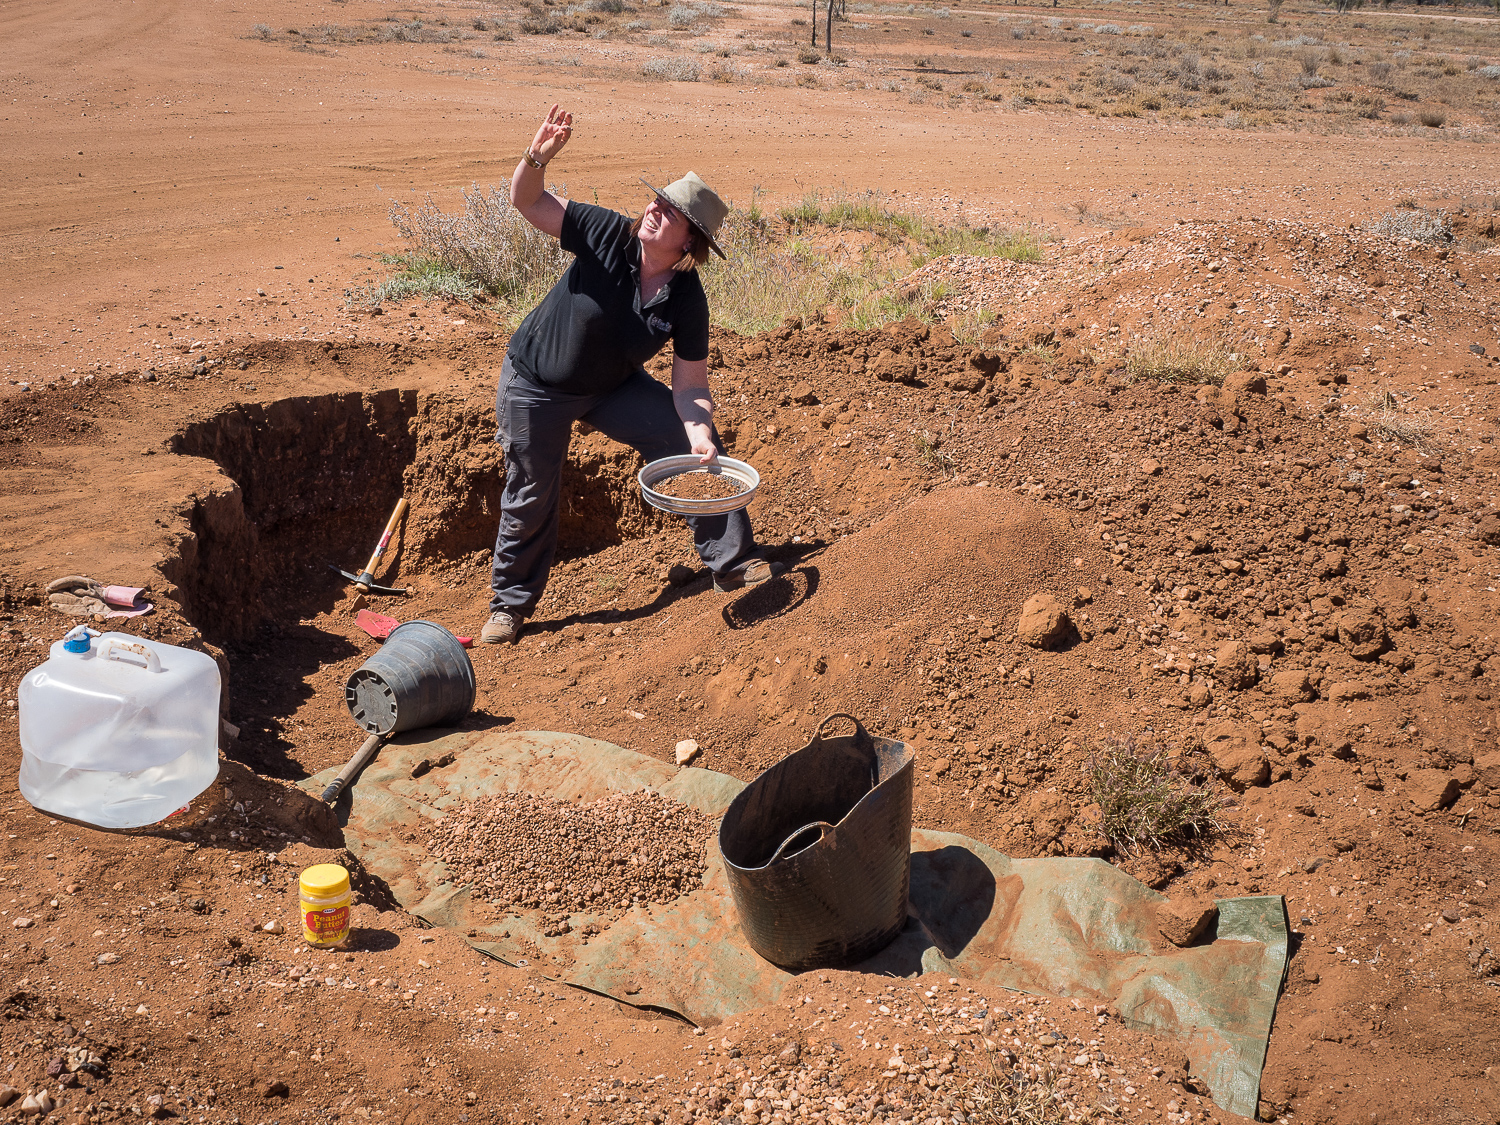
Our ‘hole’ in the public Zircon fossicking field. Note how deep it is and how compacted the mud is on top.
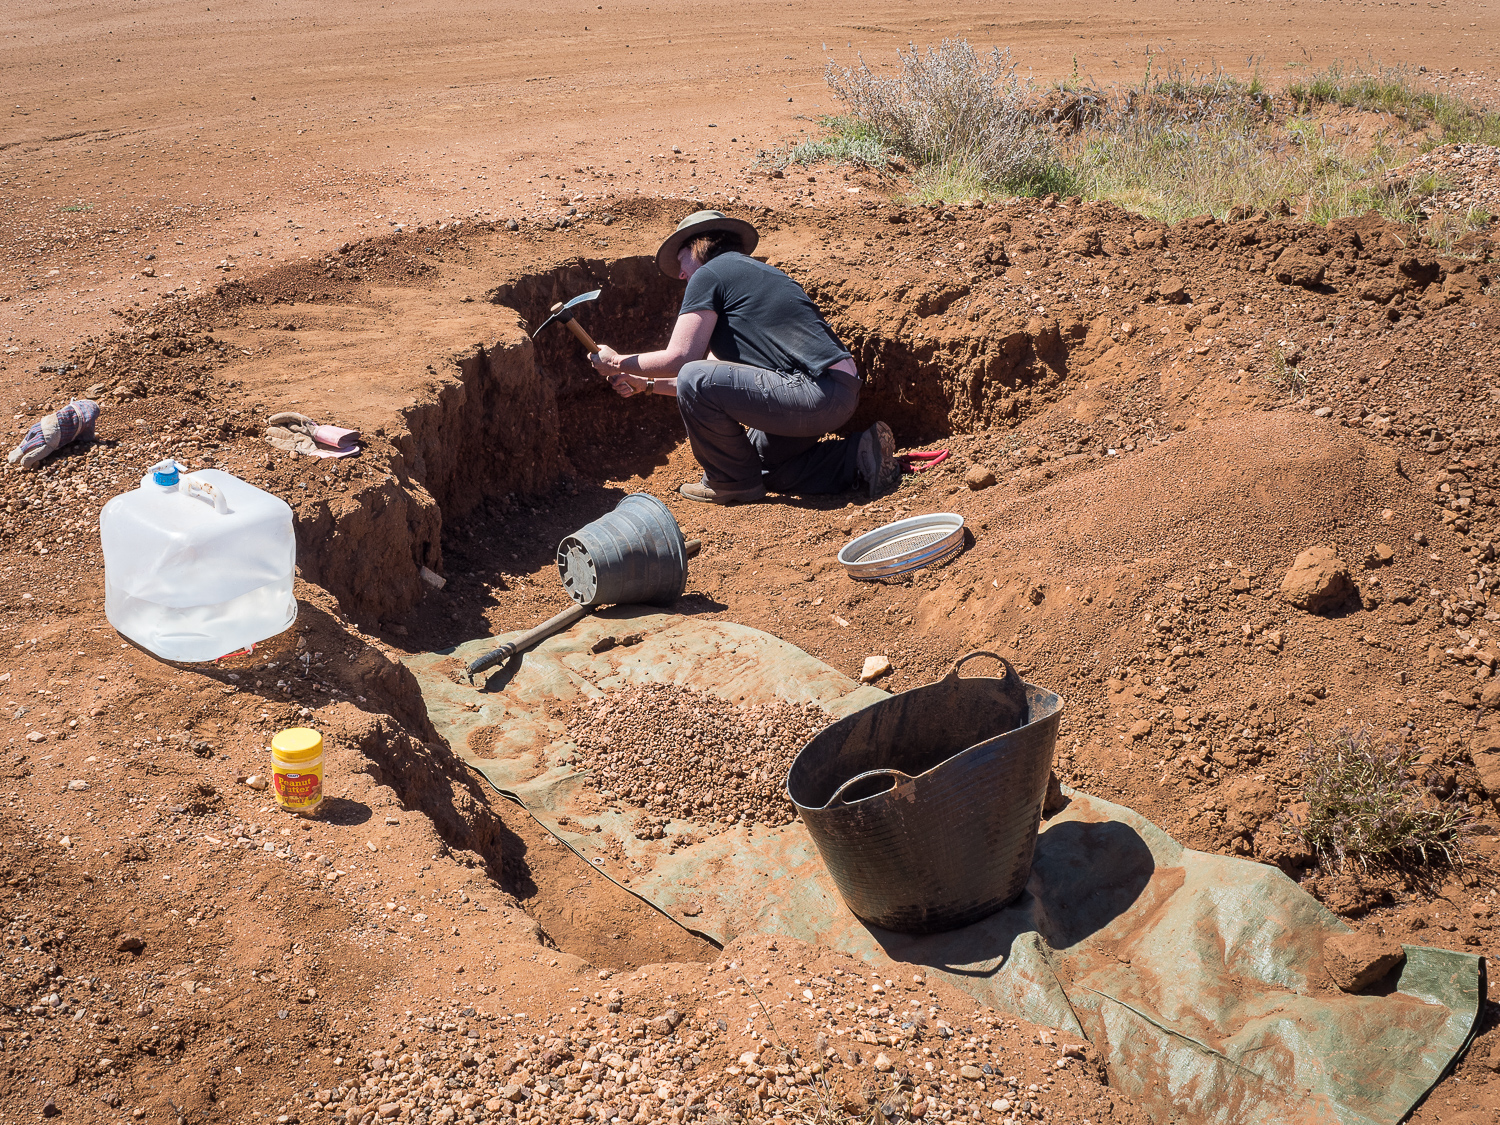
Jules pretending to dig, in truth I did all the pick and shoveling..
But, Jules did do most of the dry sieving, where you take the gravel you’ve dug up and sieve it to break down the mud blocks and remove as much dirt and dust as possible. Note the pile of sieved dirt below the sieve.
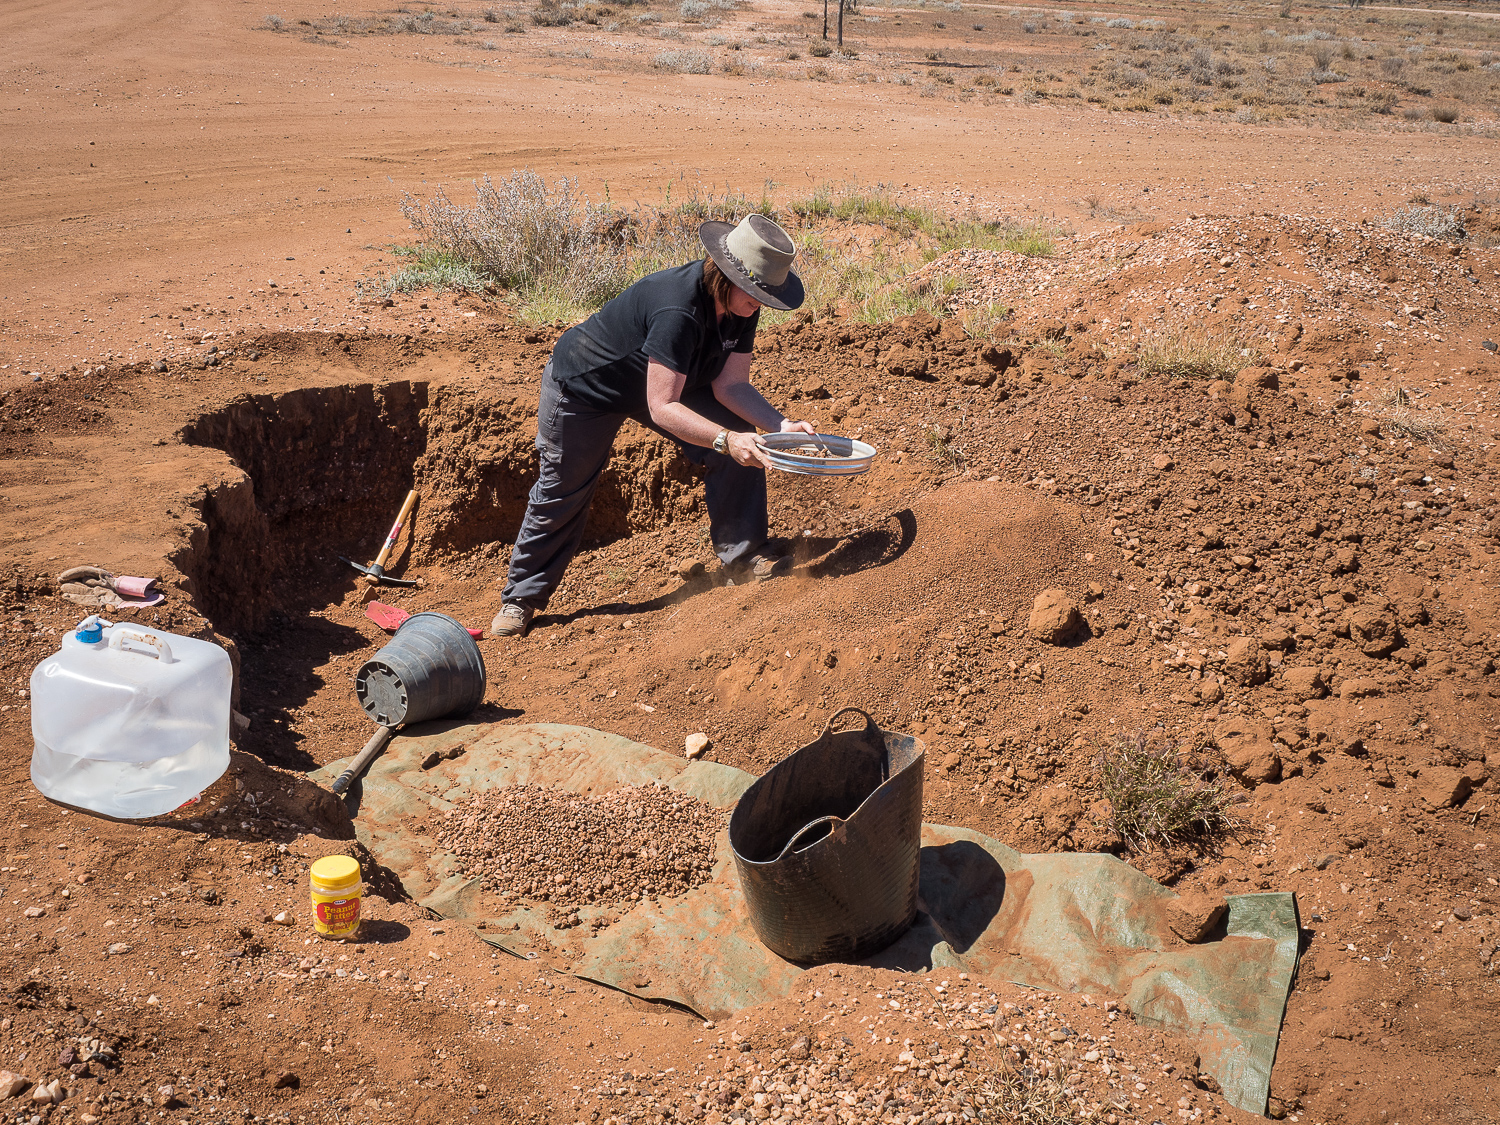
Jules posing for the camera, pretending to inspect a gem. In reality, it was really rare and hard to find the Zircons during the dry sieve process
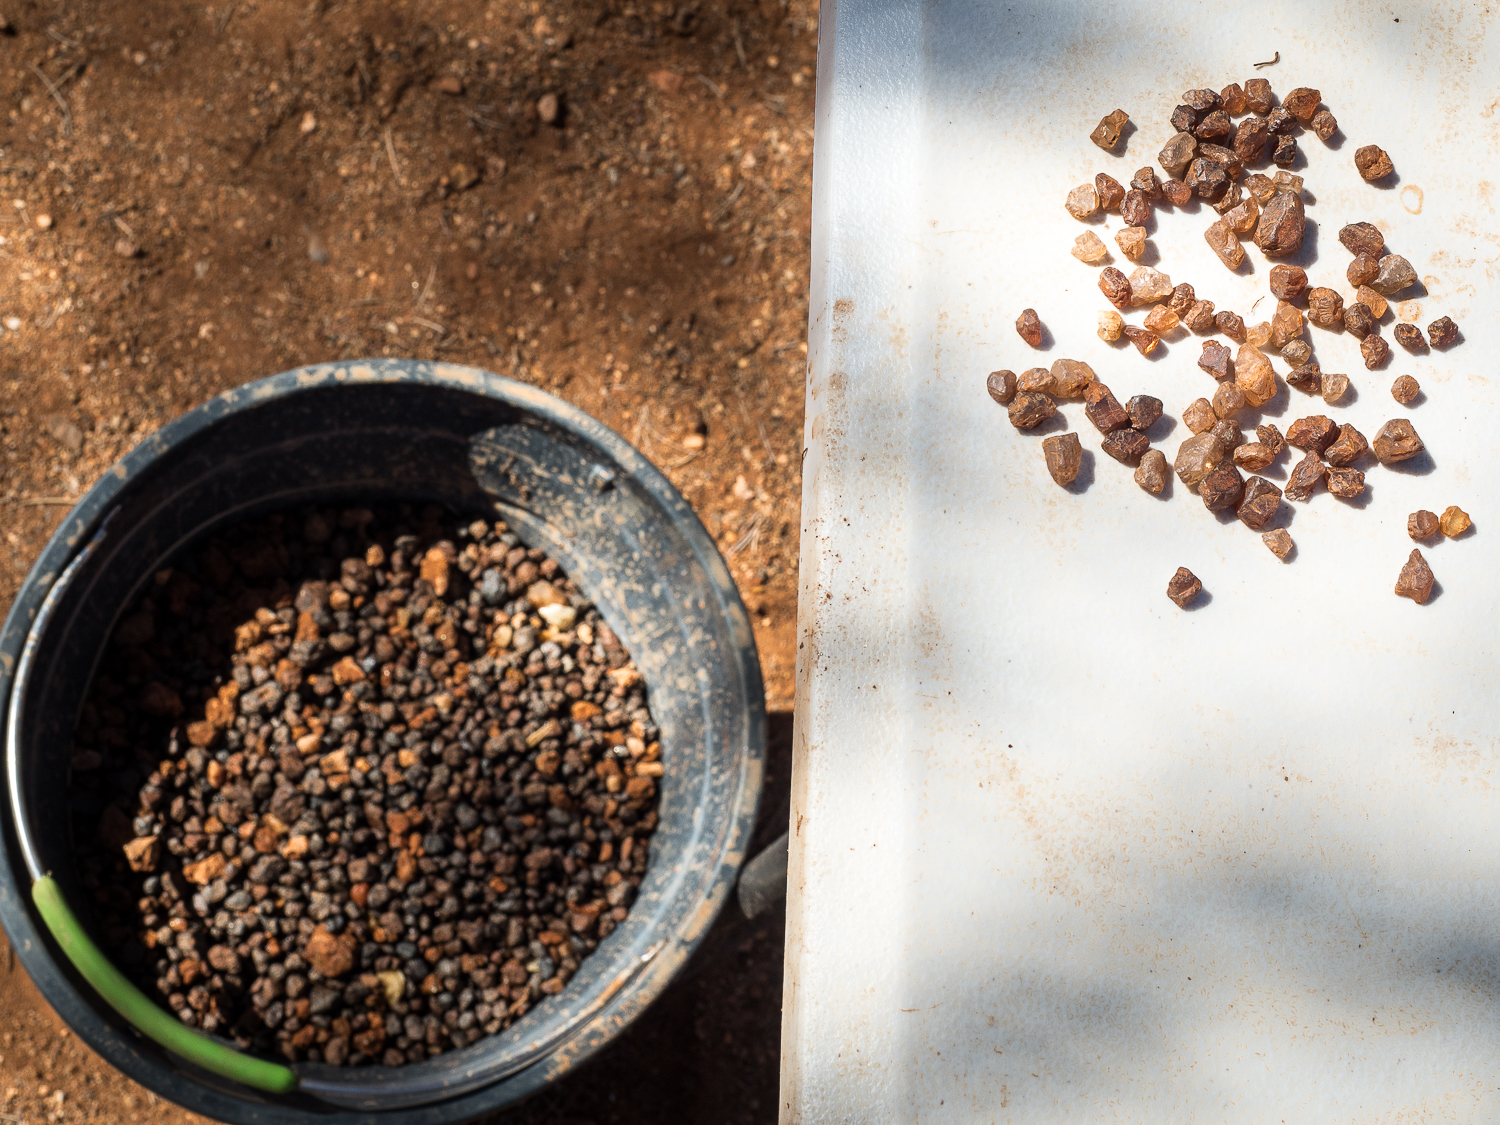
The Zircon haul from the bucket of gravel below. A couple of ‘cutters’ in there!