I placed my order for a Flow Hive 2+, the third major iteration of the product, in May ’21, receiving my hive in June.
It comes flat-packed in a couple of environmentally friendly protected boxes and the setup is very simple. Just follow the instructions using the supplied tools and parts and within a couple of hours, you have a ready-to-go beehive waiting for occupants.
Now anyone that knows me, knows that I’m a bit of a perfectionist. This doesn’t mean I’m perfect! Rather, it means I spend way too much time thinking about what might go wrong and what I could do to preemptively fix it. This then translates into too much effort, and often money, in over-engineering solutions to problems I don’t even have yet. My new beehive was not exempt from this as you’ll see below…
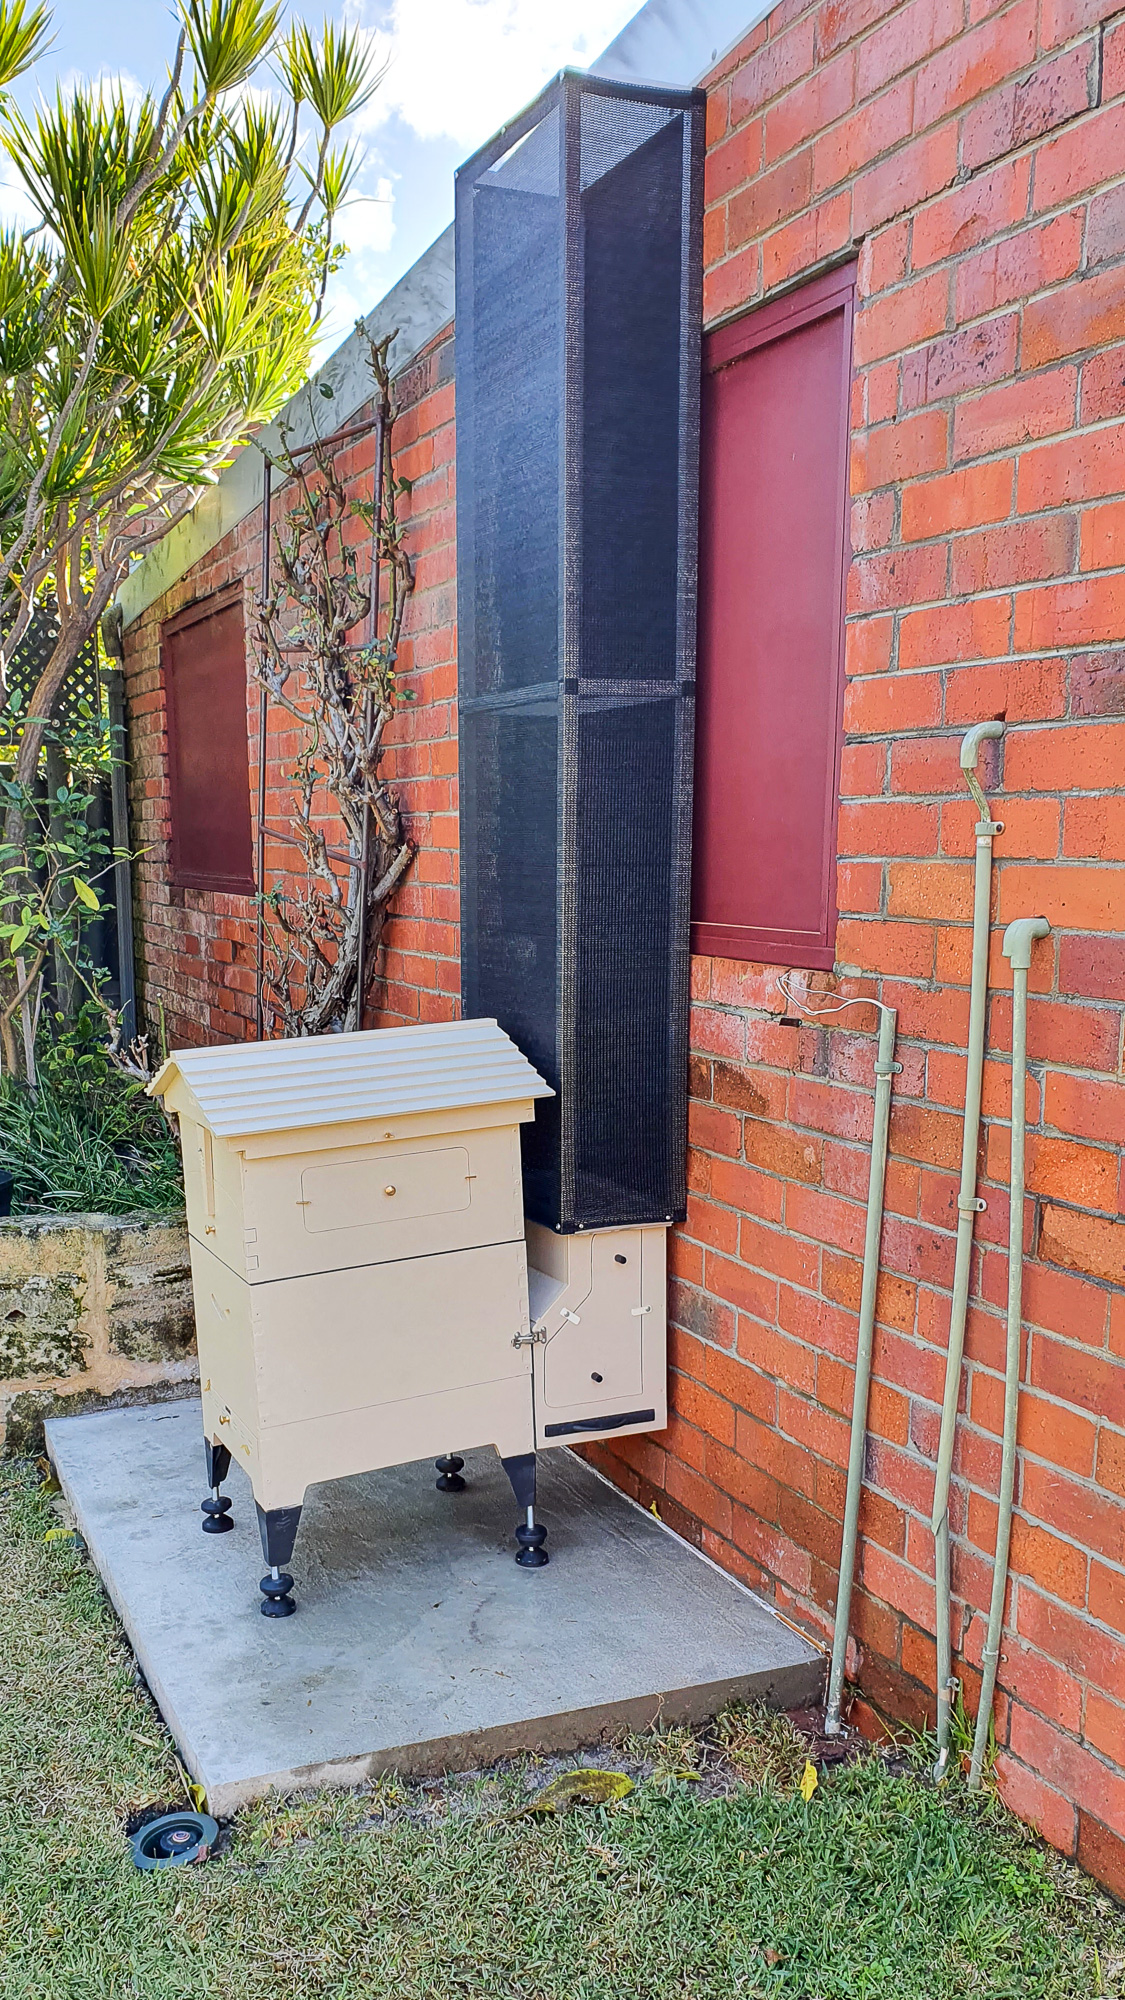
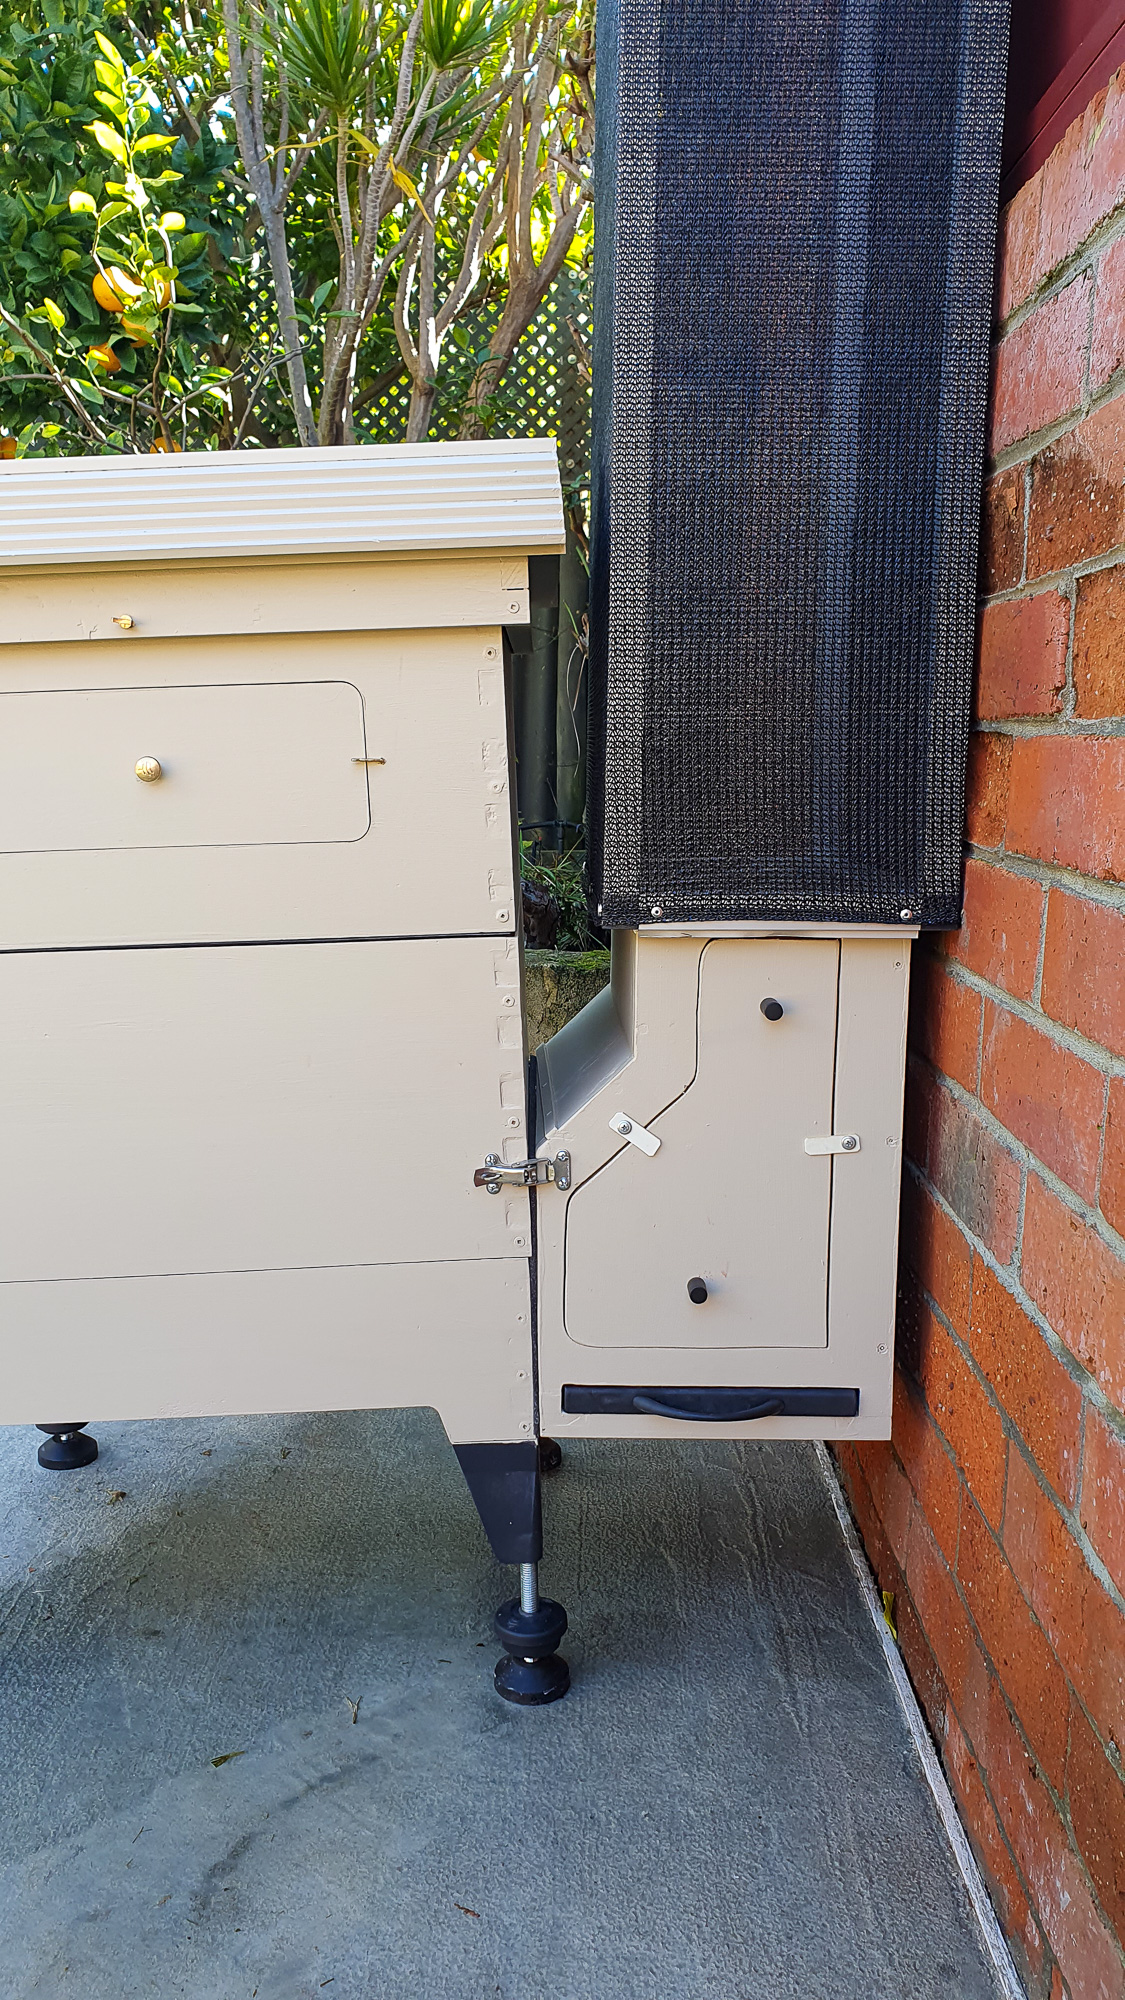
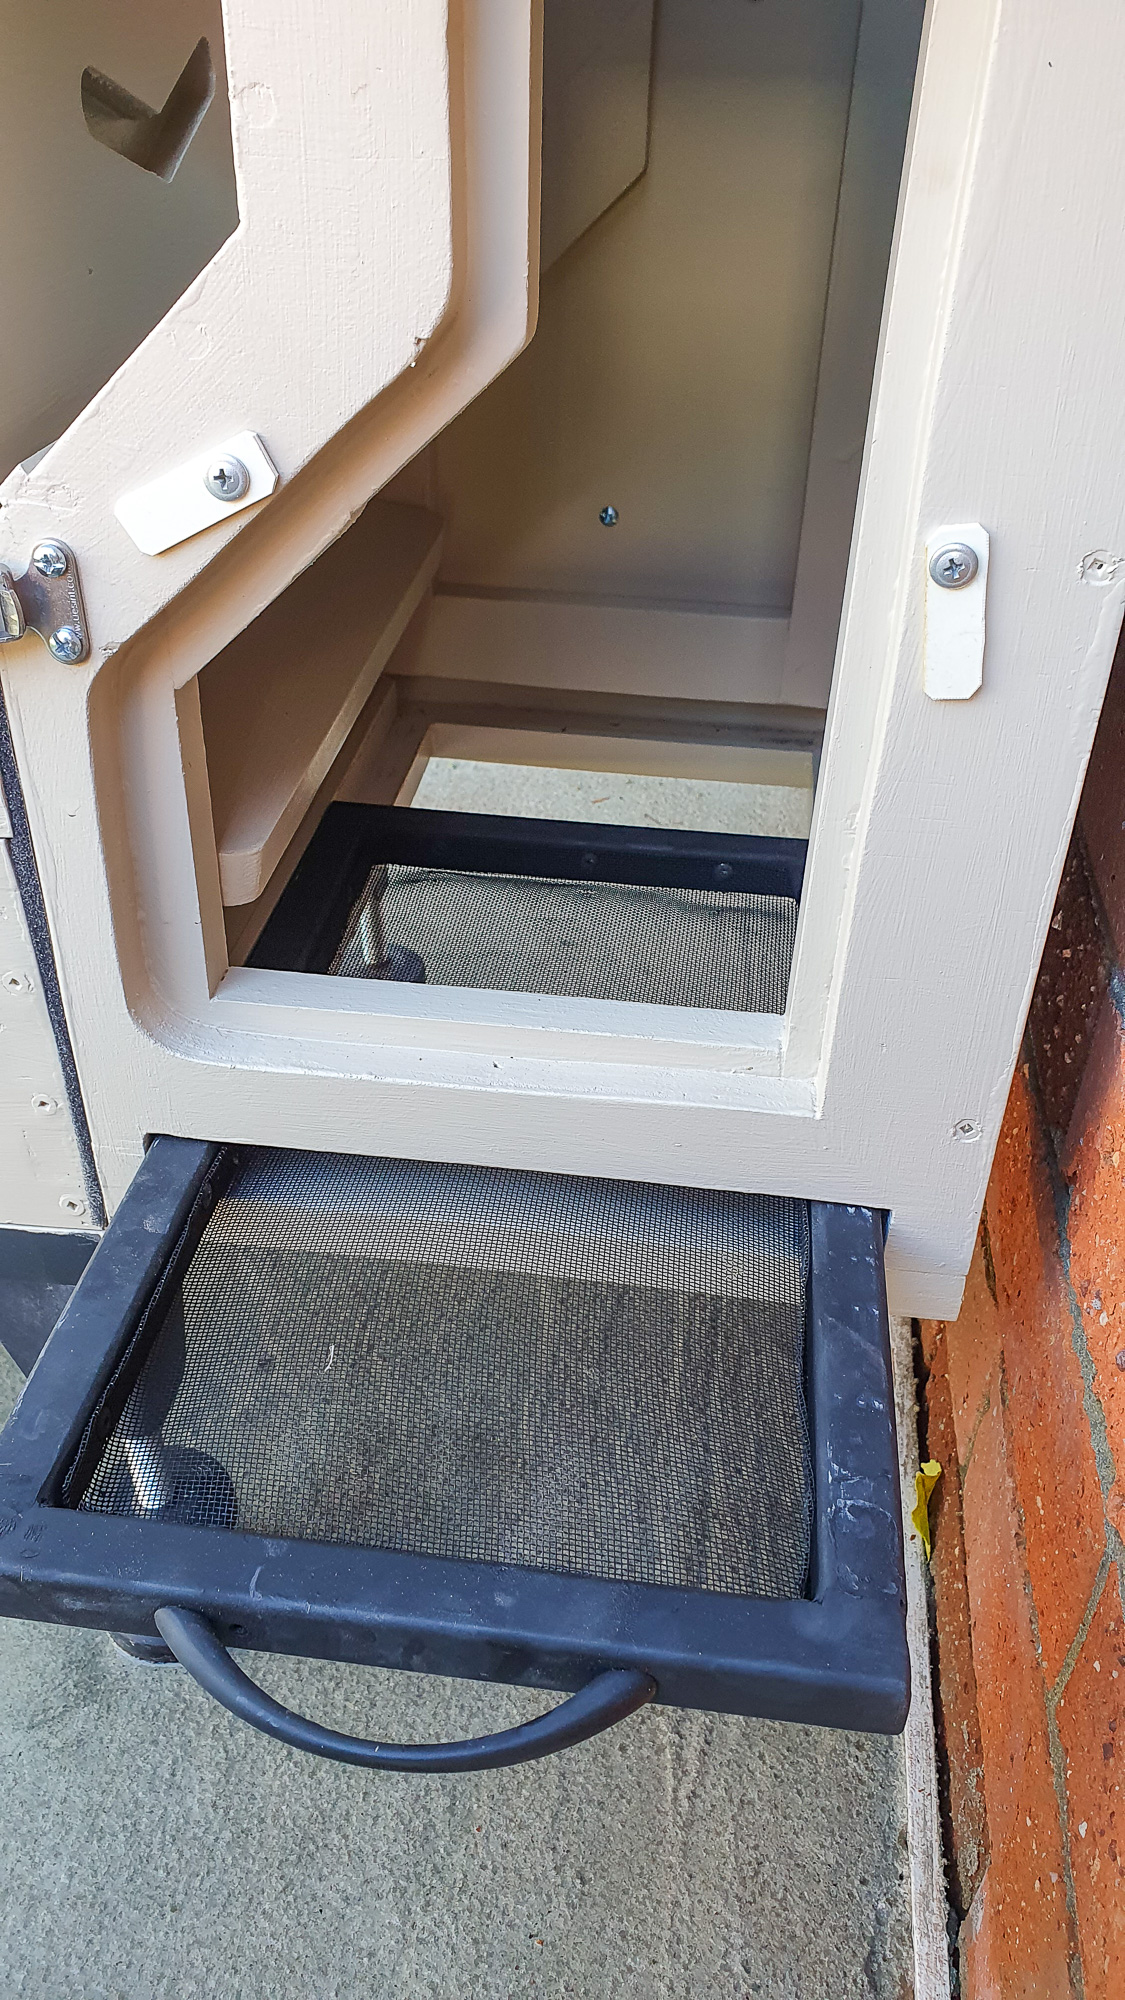
The following pics show my constructed and painted Flow Hive which is the obvious beehive-looking box on legs at the left of the pic. Then the Budgie over-engineering kicks in and you can see my solution to a problem I don’t have yet, which is the chimney I’ve designed and added on.
My thinking was, the bees will exit the flow hive and then have to fly up and out of the chimney to access the garden. This would raise the actual entry and exit point of the hive to above 2metres, well above our head height, hopefully dramatically reducing the occurrence of bees interacting with us whilst we, or the dog, move about the backyard. A great idea I reckon, but time will tell if it works or not.
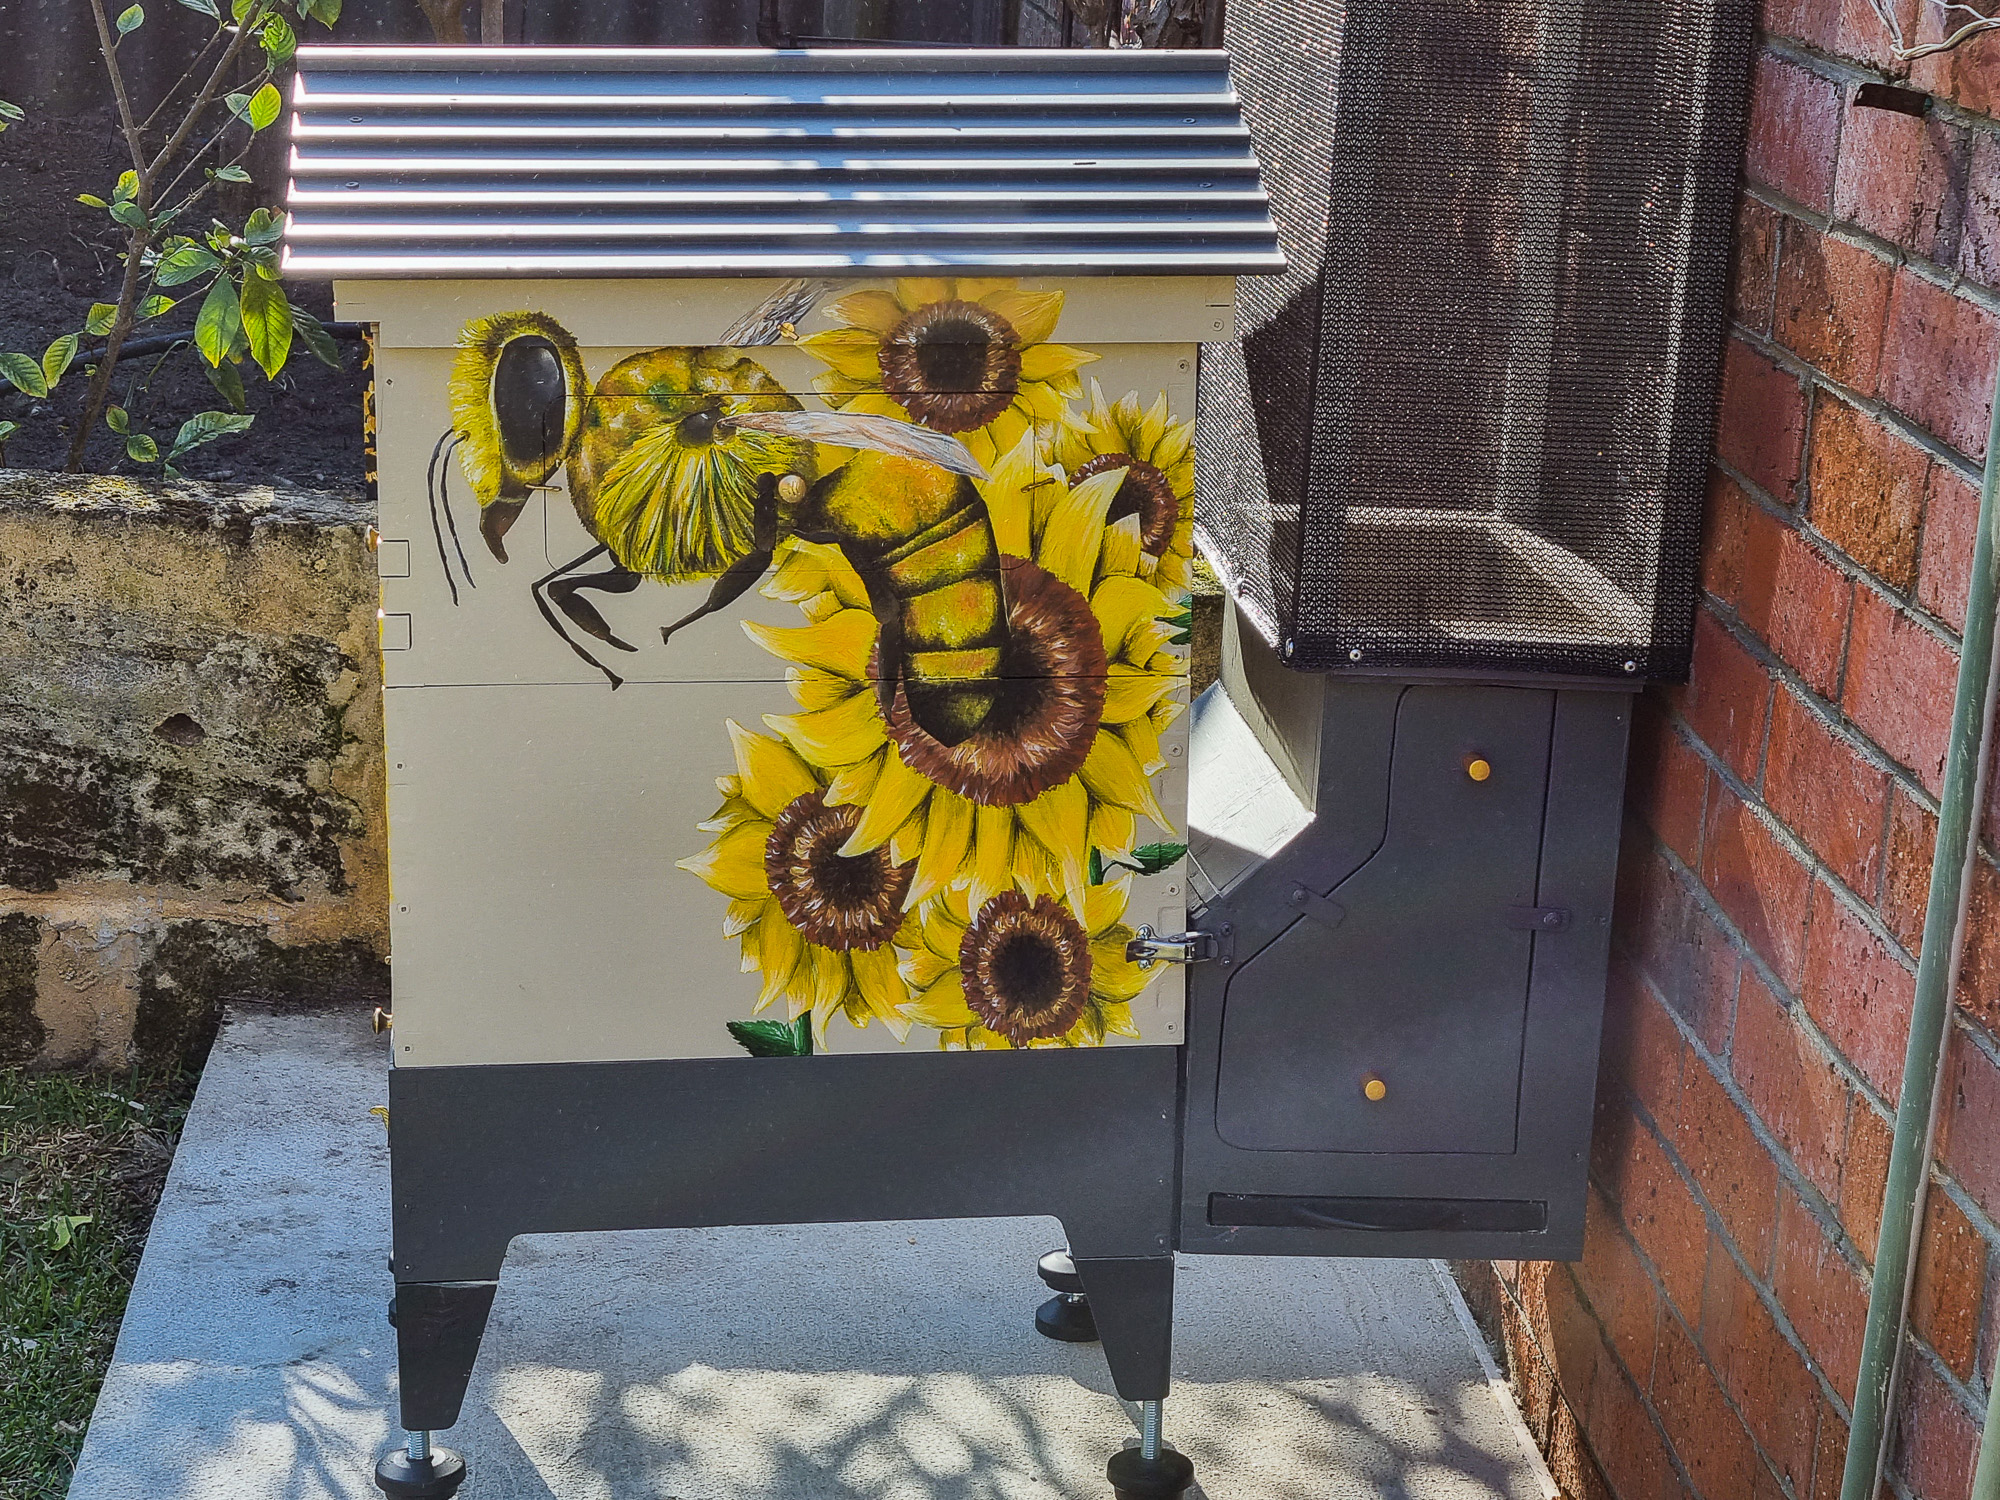
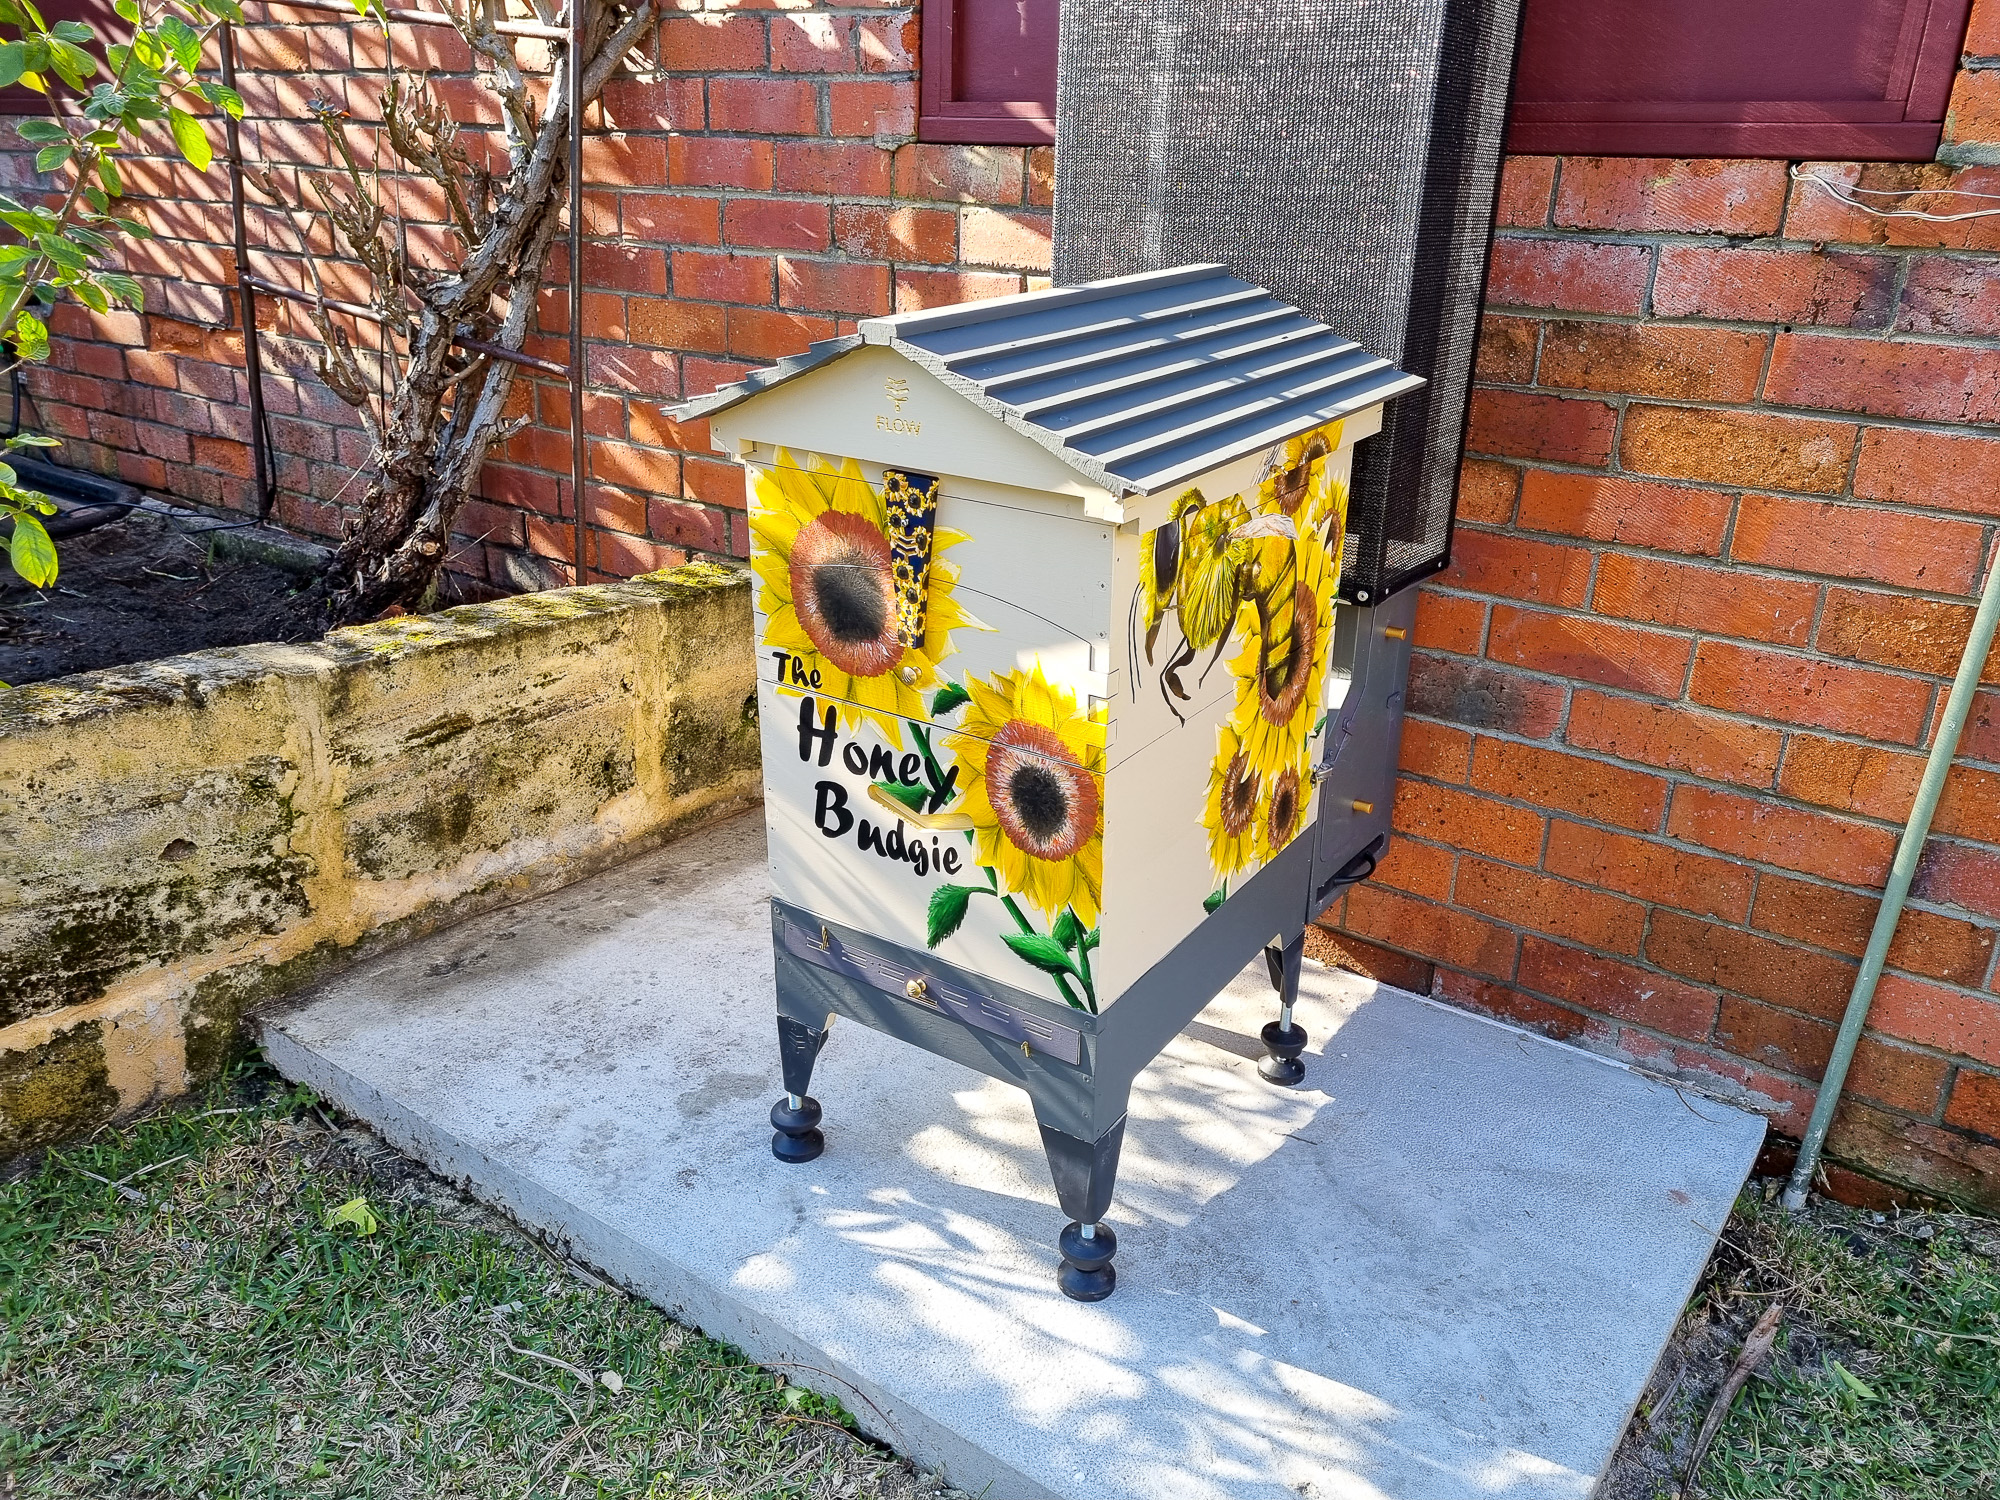
Flow Hive recommends you protect the timber of the hive and we chose to paint ours with a good quality external timber paint. This will hopefully fully waterproof it and extend its life under our harsh West Australian sun. Luckily my girls are an arty bunch and Georgia managed to dream up and then paint a lovely design of Sunflowers and a Bee on the side. We then bandied around a number of hive names, because every good project needs a name, eventually agreeing on The Honey Budgie. Paying homage to our surname and the produce we hope to harvest very soon. It’s also a play on “The Honey Badger”, also known as Danny Ricciardo, who we follow in Formula 1.
Now I just have to source some bees and get things humming (pun intended).
You would be handy in a zombie apocalypse I reckon…..
I reckon, but only as long as the zombies behave in the way I thought they would. Knowing my luck, I’d prepare all these defenses, only for the zombies to find a simple hole in my plans and overwhelm me – eating my brains out whilst I was congratulating myself on my best laid plans..
See that’s where I would become the voice of reason and ask ‘ mate, do you really need 50 calibre silenced machine guns front and back on the armoured truck ??’